Last updated November 18, 2026
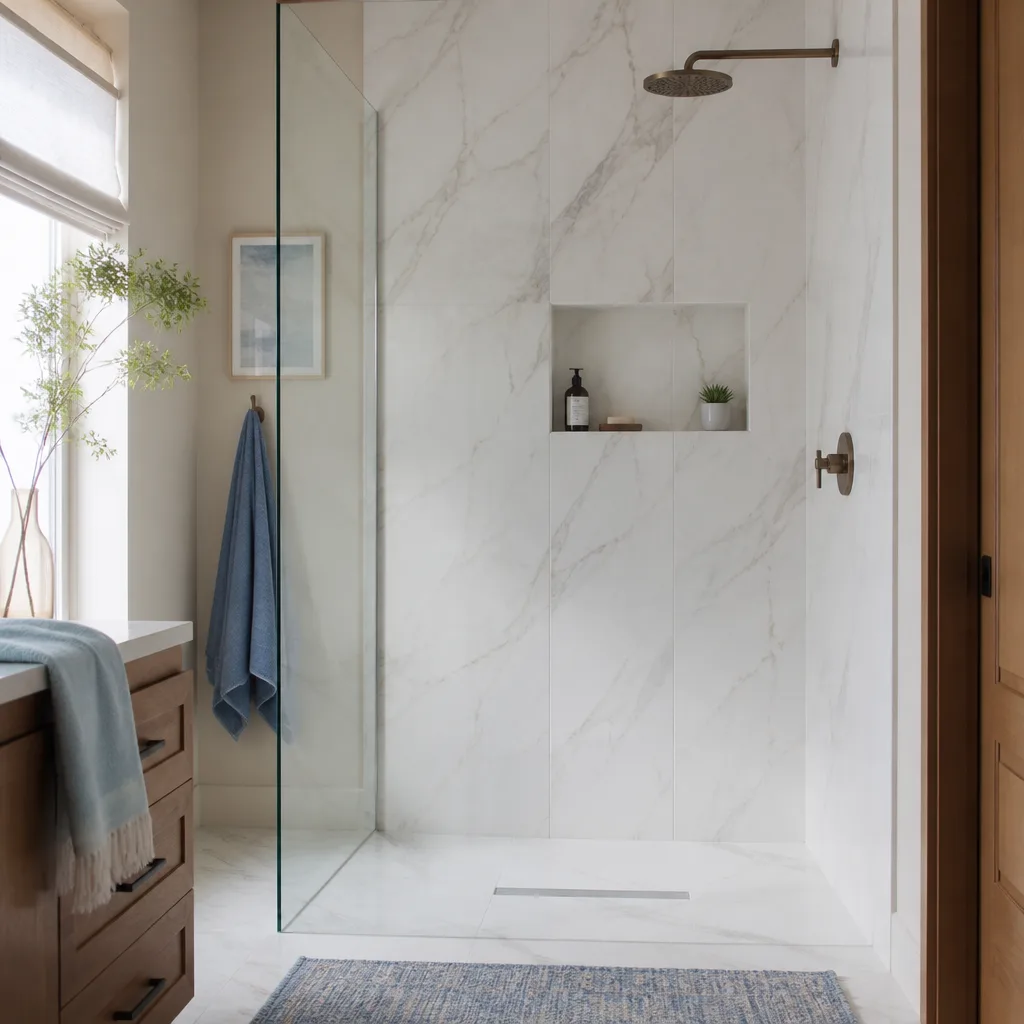
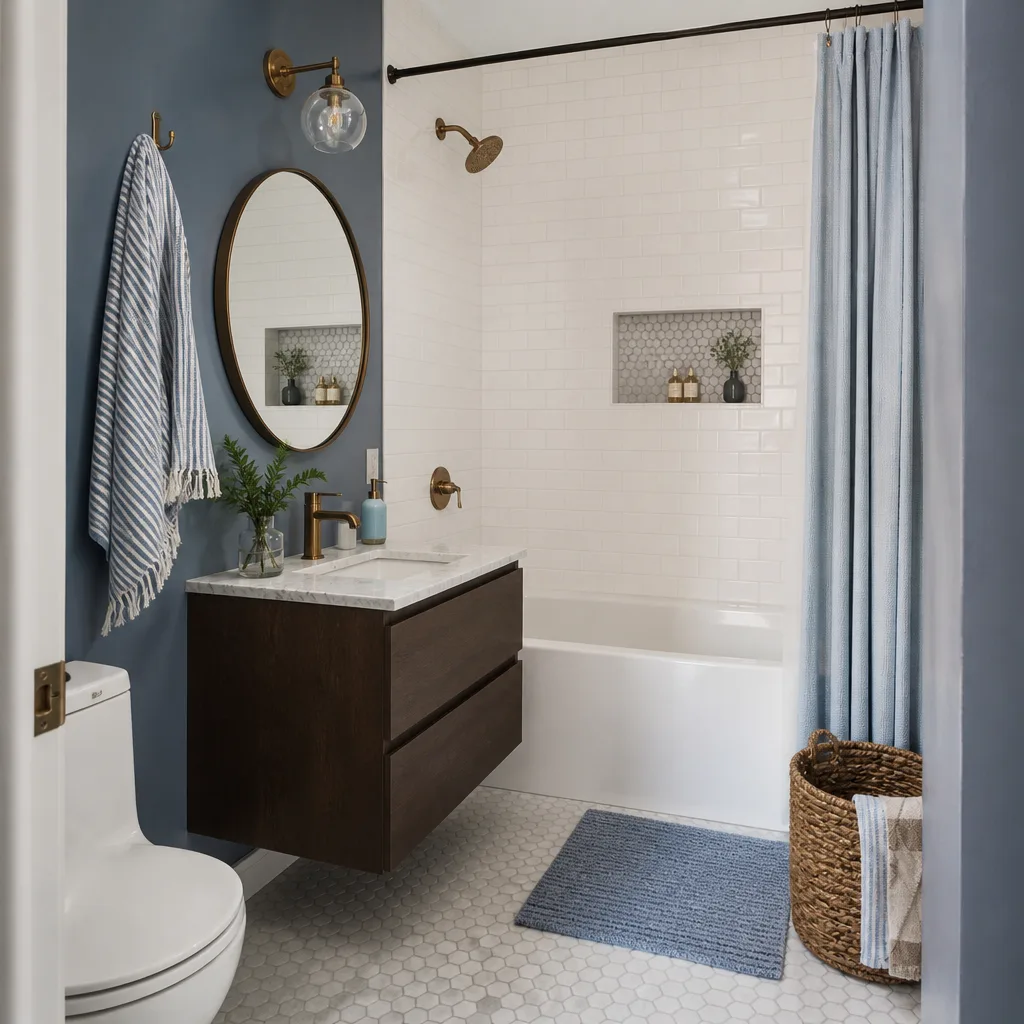
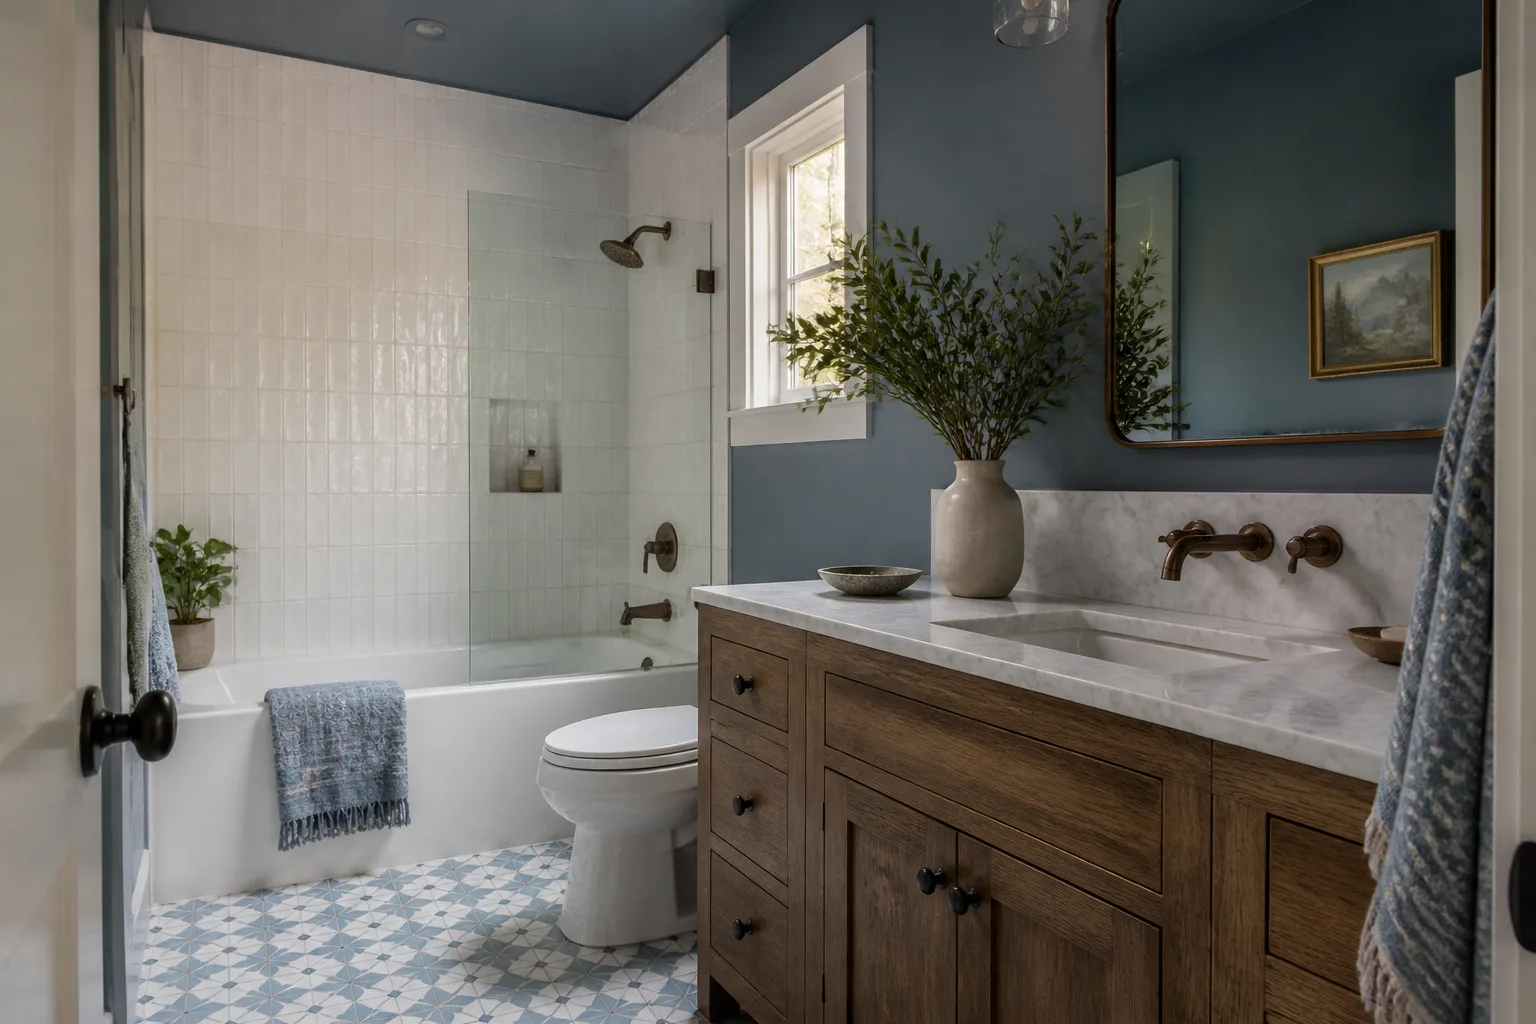
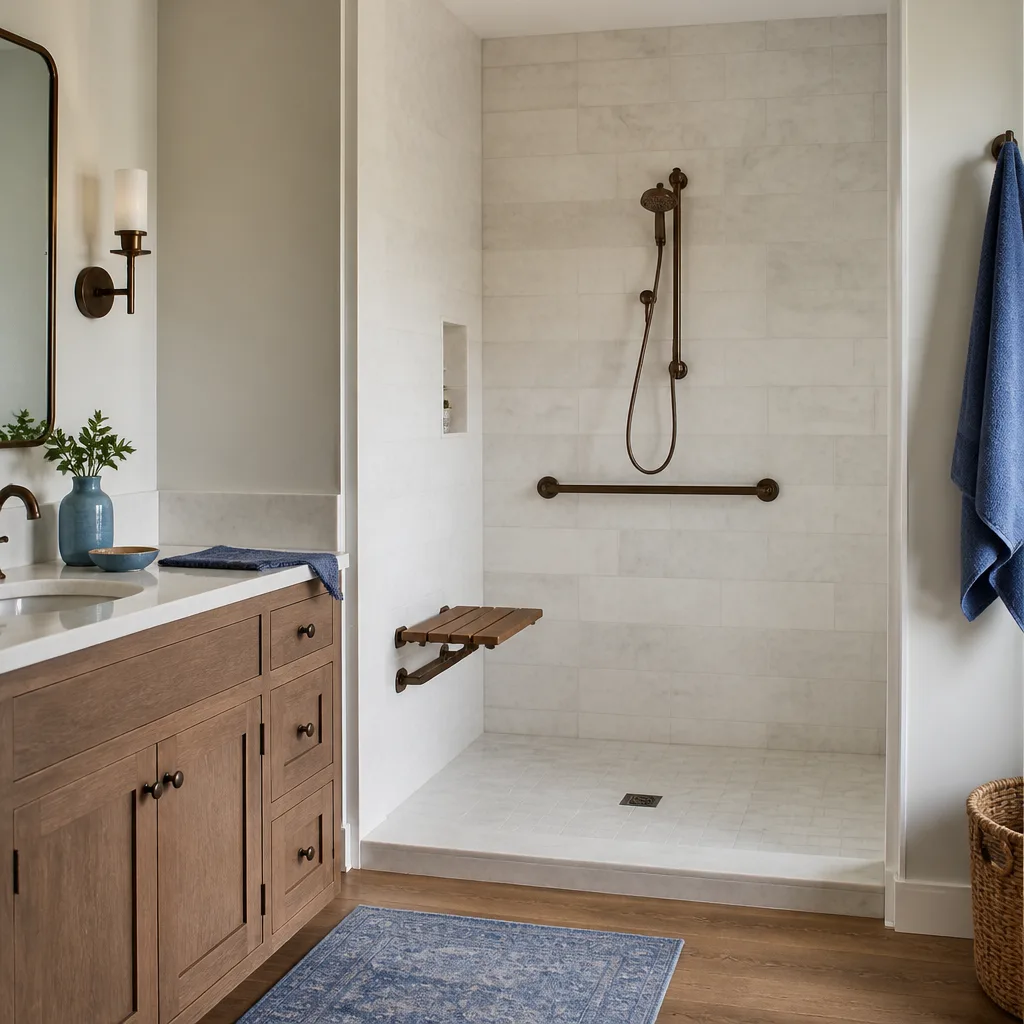
Free in-home design visit - walk-in showers, tub-to-shower conversions, and Kohler, Moen, and Delta fixtures planned to your exact space
The Complete Guide to Bathroom Remodeling in Spring Valley
Most bathroom remodeling advice you’ll find online was written for a house in Ohio. It talks about humid summers, freezing pipes, and wall layouts that don’t exist here. Spring Valley is a different construction environment entirely. The water that comes out of the tap in this valley averages over 290 parts per million in hardness, nearly triple the national average, and that single fact should shape your fixture, finish and grout choices before a single tile is pulled. Add desert heat cycling through exterior walls and the 1980s to 2000s tract-home layouts that define so much of the local housing stock, and you get a project with its own set of rules. This guide walks through all of it: materials, layout constraints, resale value, sequencing and brand tier matching, so you can plan a Spring Valley bathroom that still looks and works right a decade from now.
Quick Answer
Bathroom remodeling in Spring Valley is shaped less by style trends than by three local conditions: hard water that attacks fixtures and grout, desert heat that stresses materials at exterior walls, and tract-home floor plans from the 1980s through the 2000s with tight, fixed footprints. A smart remodel fights back with the right valve finishes, porcelain or glass tile over porous stone, sealed epoxy grout, and a layout that works within the existing walls. A Bathroom Remodeling Spring Valley specialist plans the whole project around those conditions rather than applying a generic template.
Styles & brands we work with
- Walk-in shower
- Tub-to-shower
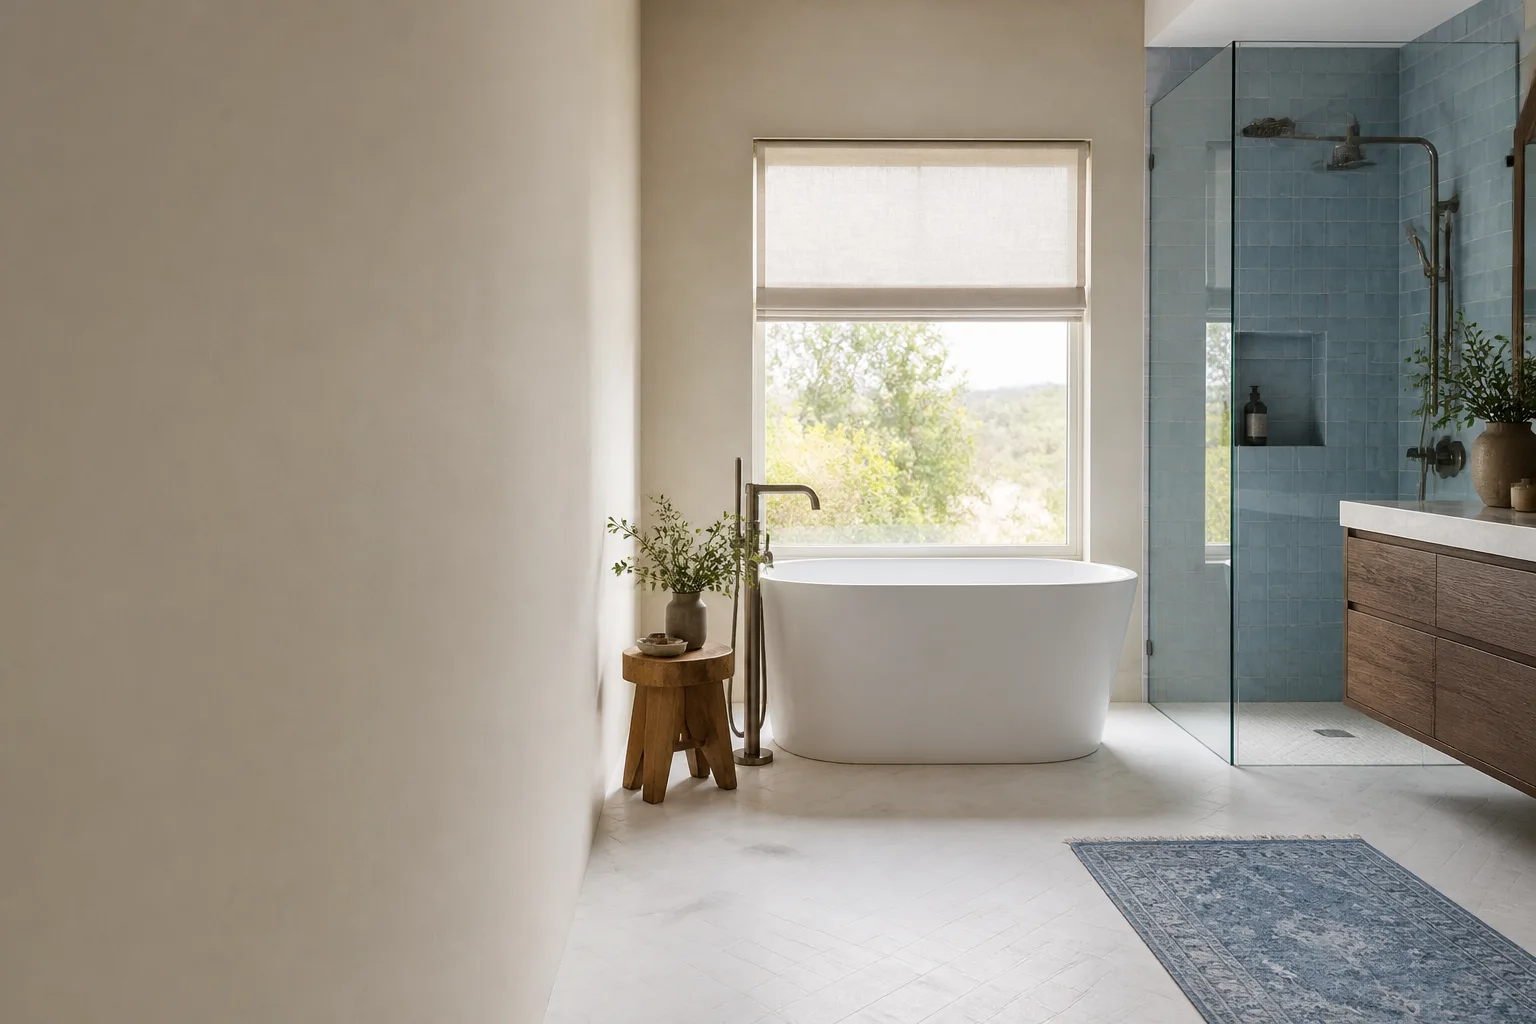
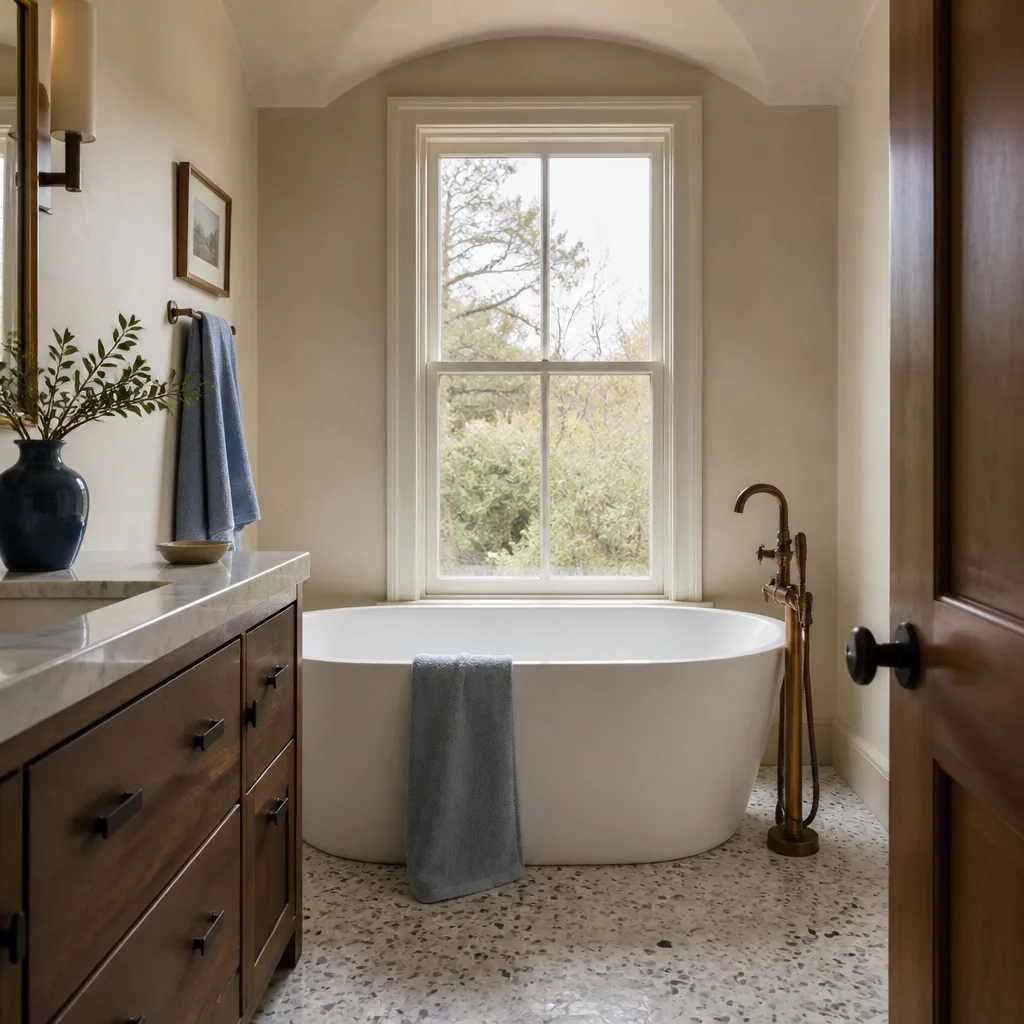
- Freestanding tub
- Kohler
- Moen
- Delta
- Frameless glass
Table of Contents
- Why Hard Water Changes Everything in a Spring Valley Bathroom
- Working With Tract-Home Layouts Without Moving Walls
- Materials That Hold Up in Desert Heat and Hard Water
- Which Upgrades Pay Back in the Spring Valley Market
- Tub-to-Shower Conversion: The Core Spring Valley Project
- How to Sequence a Full Remodel So Trades Don’t Collide
- Brand Tier Matching: From American Standard to Toto and Grohe
- Common Mistakes to Avoid
Why Hard Water Changes Everything in a Spring Valley Bathroom
Hard water is the single most underrated factor in a bathroom remodel here. Water hardness is measured by the concentration of dissolved calcium and magnesium, and Las Vegas Valley water averages over 290 parts per million, which puts it in the “very hard” category. What that means in practice is scale. Calcium deposits build on any surface water touches: chrome faucets cloud, shower glass spots and etches, porcelain toilets stain at the water line, and grout lines darken faster than homeowners expect. The scale also shortens the life of the working parts inside your fixtures, because mineral buildup wears on cartridges and aerators that weren’t designed for this water chemistry.
In our experience, this is where a bathroom in Spring Valley starts to look tired long before its fixtures have genuinely failed. A faucet that would look new after eight years in a soft-water city looks fifteen years old here. The remodel answer isn’t to fight the water, it’s to choose materials that shrug it off:
- Skip porous natural stone on shower walls and floors. Travertine and honed marble will etch and stain quickly. Porcelain tile mimics the look without the vulnerability.
- Choose epoxy grout or a high-performance cementitious grout with a sealer program. Standard cement grout is where scale shows first.
- Spec brushed nickel, matte black or PVD finishes over polished chrome. Polished chrome shows every water spot; the less-reflective finishes hide them.
- Pick vitreous china toilets and sinks rated for hard water rather than soft, thinly glazed ceramic that stains at the bowl.
- Plan for a whole-home water softener if you don’t already have one. It isn’t part of the bathroom, but it changes how long the bathroom lasts.
One more hard-water consequence people miss: glass shower enclosures need more than a quick squeegee. A properly specified shower door with a hydrophobic coating and a frame that sheds water quickly will show noticeably less spotting than an untreated panel. That’s a decision to make during design, not after installation.
Working With Tract-Home Layouts Without Moving Walls
Much of Spring Valley’s housing was built between the 1980s and the 2000s, and the plat maps and floor plans reflect that era. Hall bathrooms were sized tight. Master baths often have a single vanity, a tub-shower combo, and a toilet squeezed into a small alcove. The good news is that a well-planned remodel rarely needs to move walls to feel dramatically larger. The bad news is that a plan drawn without understanding the plumbing stack will blow the budget the moment it turns into a wall move.
Here’s how a bathroom specialist approaches a Spring Valley layout without touching structure:
- Locate the stack and the wet wall first. Almost every tract bathroom drains into one main stack. Keep the toilet and shower on that wall and you avoid the most expensive work in the project.
- Replace the tub-shower combo with a walk-in shower. The footprint is already there. Taking out the tub and building a low-threshold or curbless shower using Schluter waterproofing turns a cramped alcove into the most valuable square footage in the room.
- Convert a hall closet into a linen or step-in space. A shallow closet that backs onto the shower wall is often the easiest way to gain a foot of usable room.
- Use a floating vanity to open the floor. Removing the toe-kick footprint makes a small Spring Valley bathroom read bigger without moving a single pipe.
- Rethink the door. A pocket door or a door that swings out instead of in frees several square feet of usable floor.
- Leave the window where it is. Relocating a bathroom window means cutting stucco and reflashing an exterior wall. Usually not worth it.
The point isn’t to be cheap. It’s that moving walls in a stucco-and-drywall tract house means patching exterior surfaces, reworking the plumbing rough-in, and pulling additional permits that push the timeline out by weeks. A layout that works with the existing frame is almost always the smarter project in this market.
Materials That Hold Up in Desert Heat and Hard Water
Desert heat does two things to a bathroom. First, exterior walls on the south and west sides of a Spring Valley house can get hot enough that a wall-mounted vanity or cabinet pulls away from the drywall if the insulation behind it is thin. Second, expansion and contraction cycles work on grout and caulk joints over and over, which is why caulk lines on a shower that sees temperature swings fail faster than you’d expect. Both problems are solvable with material choices made up front.
What we recommend for local conditions, in order of importance:
- Tile over anything porous. Porcelain tile (including stone-look formats) is the workhorse for Spring Valley showers and floors. It handles hard water, doesn’t etch, and cleans easily.
- Schluter waterproofing membranes under the tile. This is the unglamorous detail that keeps a shower from leaking into the wall cavity. A waterproofed substrate is the difference between a bathroom that lasts and one you’re redoing in eight years.
- Engineered quartz or solid-surface vanities. Quartz handles hard water without staining and looks the same in year ten as in year one. Avoid natural stone tops unless you love maintenance.
- Exterior-grade caulk, not interior. The heat cycling on a west-facing bathroom wall will crack standard interior caulk within a season or two.
- Insulated exterior walls where the vanity sits. If the wall behind the sink is on the hot side of the house, adding a layer of insulation behind the cabinet is worth the small cost.
- Sealed cabinet finishes. Wood cabinet doors in a hot, low-humidity bathroom can warp or split at the seams if they aren’t sealed on all sides. Factory-sealed doors last longer than site-painted ones.
One thing to watch for in a Spring Valley home: if the bathroom is on an exterior wall with a large west-facing window, the room can become uncomfortably hot in summer afternoons. Low-e glass or a properly placed exterior shade makes a real difference. That’s an architectural detail you’ll appreciate every summer for many years.
Which Upgrades Pay Back in the Spring Valley Market
Spring Valley buyers are practical. They’ve seen enough 1990s bathrooms with gold fixtures and a beige tile surround to know what a cheap cosmetic flip looks like, and they discount for it. What actually moves the needle at resale isn’t the flashiest upgrade, it’s the one that solves the problems a buyer notices during a walk-through: a walk-in shower that doesn’t feel cramped, a vanity that stores things, and a room that doesn’t feel dated the moment they walk in.
Here’s how we rank the upgrades for resale return in this market:
- Walk-in shower with a low or no threshold. Highest resale driver. Buyers value accessibility even if they’re young. It also broadens the buyer pool to include older purchasers.
- Dual-flush or comfort-height toilet. Small cost, high perceived value, easy line item for buyers to spot.
- New vanity with real storage. A well-designed cabinet with deep drawers outsells a beautiful but useless single-shelf unit.
- Waterproofed, tile-to-ceiling shower walls. A clean, fully-tiled shower reads as quality; a shower that stops short of the ceiling or uses plastic surrounds reads as budget.
- Quartz or solid-surface countertop. Resistant to hard water, doesn’t need sealing, looks premium.
Where resale value drops off: luxury soaking tubs in a hall bath, complicated tile mosaics that will date, high-end spa plumbing a buyer can’t service locally, and dramatic color choices that narrow the buyer pool. A freestanding tub is a beautiful thing in the right master bath and a liability in a 5-by-8-foot hall bath. What delivers personal value for you and what delivers resale value are different lists, and the smart project keeps both in view without pretending they’re the same.
If you want the full walkthrough of how remodels are scoped and priced at the finished-project level, our bathroom remodeling page breaks it down section by section.
Tub-to-Shower Conversion: The Core Spring Valley Project
If there’s one project we see over and over in Spring Valley, it’s the tub-to-shower conversion. The tub in a hall bath or master bath is a relic of the era, and the reason so many homeowners green-light the conversion is simple: nobody uses the tub, and the shower it hides is cramped and dated. Converting to a walk-in shower is a single project that upgrades the room’s daily use, its resale value, and its accessibility at the same time. That’s not a coincidence. It’s the most efficient project in the bathroom remodel category.
The conversion itself is a layered job. The surface you see is tile, but the work that matters is underneath:
- Remove the tub and rough in the new drain. The existing tub drain line usually works with minor modification, but the slope and center point need to be reworked for a linear or center shower drain.
- Build a waterproofed shower pan. A Schluter shower system layers a bonded membrane over a sloped substrate so water has nowhere to go but the drain. This is the step that determines whether the shower lasts twenty years or suffers its first leak in five.
- Install wall backer and vapor management. Cement backer or a foam tile board over a proper moisture barrier.
- Set tile and grout. Tile with epoxy or sealed cement grout that resists hard water. This is where a Spring Valley bathroom either looks new for a decade or starts to show its age in two.
- Install the shower valve, head, and glass. A good thermostatic valve prevents the temperature swings common when a hard-water shower is fed by a struggling cartridge.
- Finish the surround and door. Curbless or low-threshold is best for accessibility; a proper sweep on the glass door prevents water from migrating across the floor.
The walk-in shower is the heart of any conversion, and the way you build the pan and waterproofing around it is what separates a smart project from a stack of pretty photos. For the deep detail on how these showers are built, see our page on walk in shower installations.
One honest caveat: a tub-to-shower conversion is where hard-water and layout choices meet. If your Spring Valley bathroom has the water line running through the same wall as the shower valve, plan the waterproofing carefully. The conversion is durable when built right and inexpensive to redo when built wrong, which is the reason to hire a shower specialist rather than a generalist.
How to Sequence a Full Remodel So Trades Don’t Collide
The single biggest reason a bathroom remodel stalls is trading. Tile crews can’t start until plumbing rough-in is done and inspected. Glass can’t be templated until the tile is finished. The vanity can’t go in until the floor is down. Every one of these handoffs is a chance for a day of downtime to turn into a week. Sequencing isn’t glamorous planning, it’s the discipline that keeps the project on schedule and in budget.
The order that works for a full Spring Valley bathroom remodel:
- Demolition and haul-away. Old fixture removal, tub out, tile down, drywall out as needed.
- Plumbing rough-in. Drain relocation, valve rough-in, supply lines, shower pan prep.
- Electrical rough-in. Vanity lighting, exhaust fan, any heated floor wiring.
- Inspection. Permits vary by city; most Spring Valley remodels pull permits for plumbing and electrical changes. Ask your local building department about the exact requirements for your scope before work starts.
- Insulation, drywall and backer. Including the waterproofing membrane on the shower walls and floor.
- Tile and grout. Shower first, then floor, then remaining walls. Curing time matters before the next trade can walk on it.
- Cabinets and vanity top. Installed after tile, templated if a stone top is used.
- Plumbing trim-out and electrical trim-out. Faucets, shower head, toilet, vanity lights, exhaust fan.
- Glass and mirror template, then install. This is the one step that’s templated after tile; a day or two between template and install is normal.
- Finish carpentry, paint, caulk, punch list. Baseboards, door trim, final sealant and a full walkthrough.
The takeaway: pick a remodeling partner who sequences these ten steps across one dedicated team, or a specialist who manages the handoffs. A general contractor who treats a bathroom as a filler project between kitchens and roofs will leave the project stalled while other work runs. That’s a scheduling truth, not a criticism of general contractors. A focused bathroom remodeler simply has more to lose if the sequencing slips.
In terms of the local timeline, most full Spring Valley bathroom remodels run somewhere in the range of four to seven weeks for a typical hall or master bath. A tub-to-shower conversion alone is often closer to two. Ask for a schedule up front with the estimate, and hold the estimate to it.
Brand Tier Matching: From American Standard to Toto and Grohe
Brand tier isn’t a status symbol exercise. It’s about matching the right fixture to the room, the budget, and how long you plan to be in the house. A hall bath for a rental doesn’t need a Grohe thermostatic valve, and a master bath with a rain shower and a separate hand-held really does benefit from it. Because we work with eight brands, we can match tier to room rather than force one tier across the whole project. That’s one of the reasons we like the portfolio: it lets us say “American Standard makes sense here” and mean it.
Here’s a practical framework for matching tier to room in a Spring Valley home:
- American Standard and Sterling are the workhorse tier. Durable, well-supported, and honest value for hall baths, kid baths, and projects headed to resale. Sterling in particular is easy to spec for a clean, modern hall bath without the price creep of a premium line.
- Moen and Delta sit in the solid-middle tier. Proven cartridge systems, wide parts availability, and finishes that hold up to hard water better than thinner-plated generics. A good fit for a master bath that isn’t chasing luxury.
- Kohler is the step up. Great finish quality, broader design range, and a fit for a master bath where the vanity and shower door are going to be seen every day.
- Toto is the pick when the toilet matters. Their washlet systems and vitreous china quality are a real step up in a master bath or an accessibility-focused conversion.
- Grohe is the premium shower pick. Thermostatic valves, rain heads, and finishing that handles hard-water cycling. Worth it in a master with a walk-in shower. Not necessary in a hall bath.
- Schluter isn’t a fixture brand; it’s the waterproofing layer that sits behind everything. We use Schluter on shower pans and substrate because it’s the industry leader for a reason: it’s how the whole bathroom earns its longevity.
The honest advice: don’t stretch the budget to premium brands in a room that won’t benefit, and don’t cheap out on the shower valve or the waterproofing in a room you’ll use every day. The remodeling work is invisible once it’s finished, so it’s the brand tier behind the tile that determines whether the room holds up. If you’re curious about the local market and the neighborhoods we work in, there’s more about Spring Valley on the site.
Common Mistakes to Avoid
- Choosing tile and grout that can’t handle hard water. A soft marble shower or wide-joint cement grout in a 290-ppm valley will look tired within a couple of years. Pick porcelain and sealable or epoxy grout, and you won’t be redoing it.
- Moving a wall to gain space that a better layout would have given you for free. In a Spring Valley tract home, a smart walk-in shower conversion adds more usable room than a wall move ever will.
- Skipping the waterproofing membrane to save a few hundred dollars. Every leaky shower we’ve seen started as a shortcut behind the tile. Schluter or equivalent is not optional.
- Letting one trade proceed before the previous one has been inspected. A plumbing rough-in that isn’t inspected before the walls close creates the worst possible surprise: a code issue behind tile.
- Choosing premium fixtures in the wrong room. A Grohe shower valve in a hall bath is a wonderful fixture in a room that will never notice the difference. Spend that budget on the master shower instead.
- Not confirming the permit requirements up front. Most cities require permits for plumbing and electrical changes, but the exact thresholds vary. Ask your local building department before demolition, not after.
- Treating the bathroom as a “while we’re already remodeling” add-on. A bathroom project that runs alongside a kitchen or other job will get scheduled second. Pick a specialist who can protect the timeline.
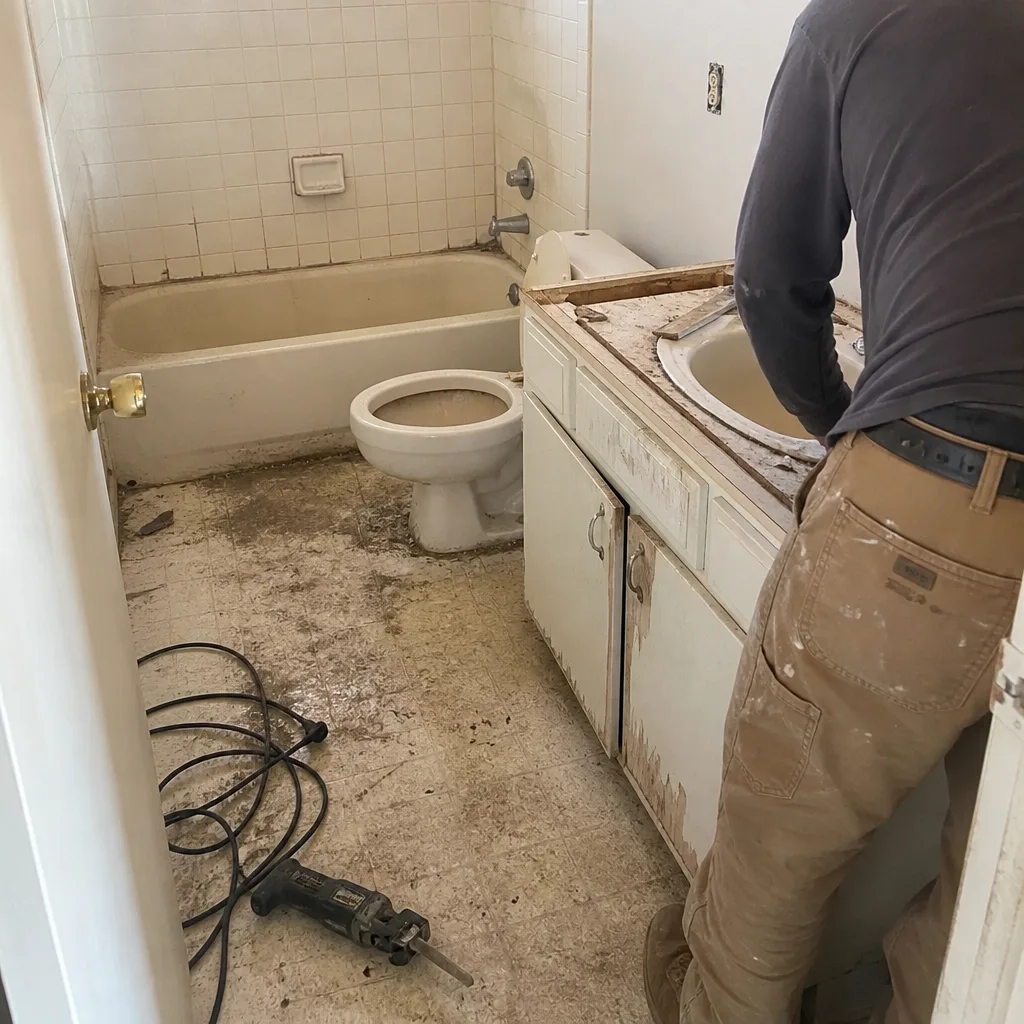
See the difference
 Before
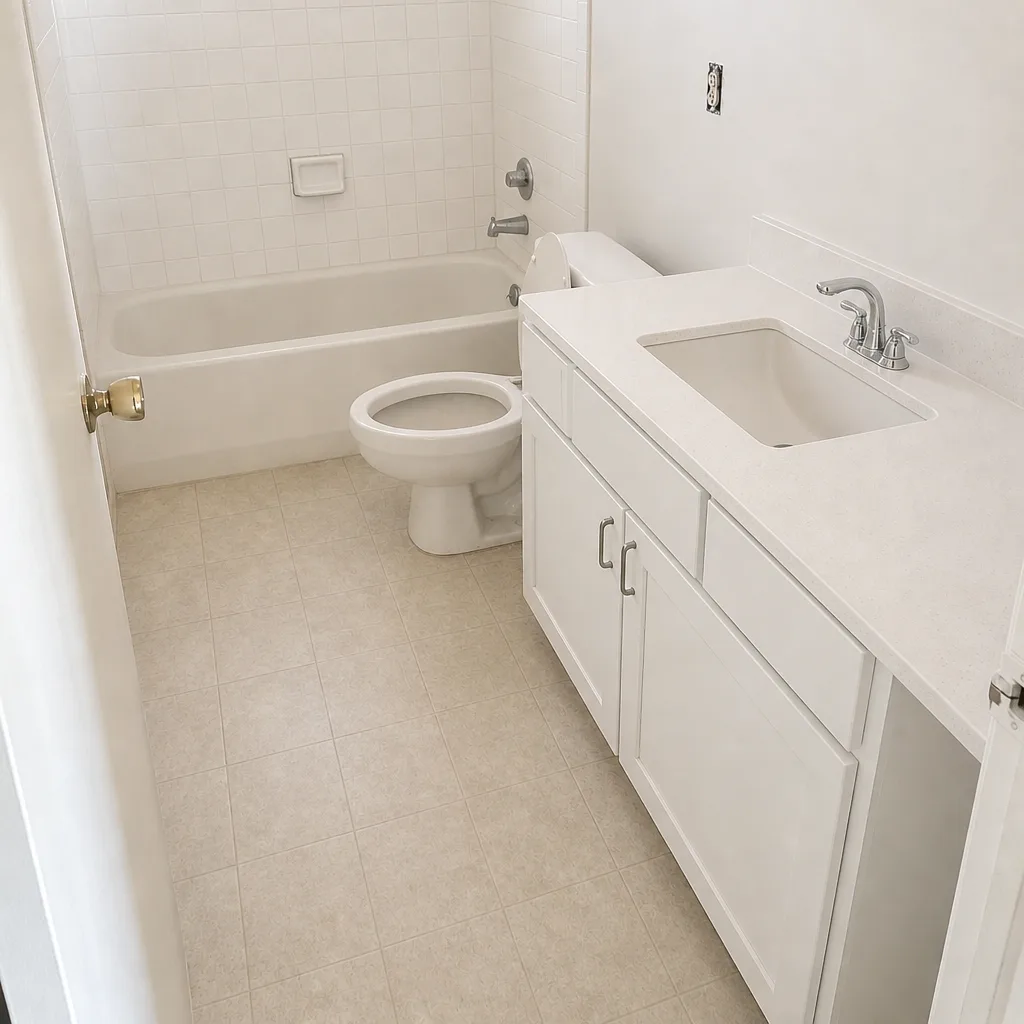 After
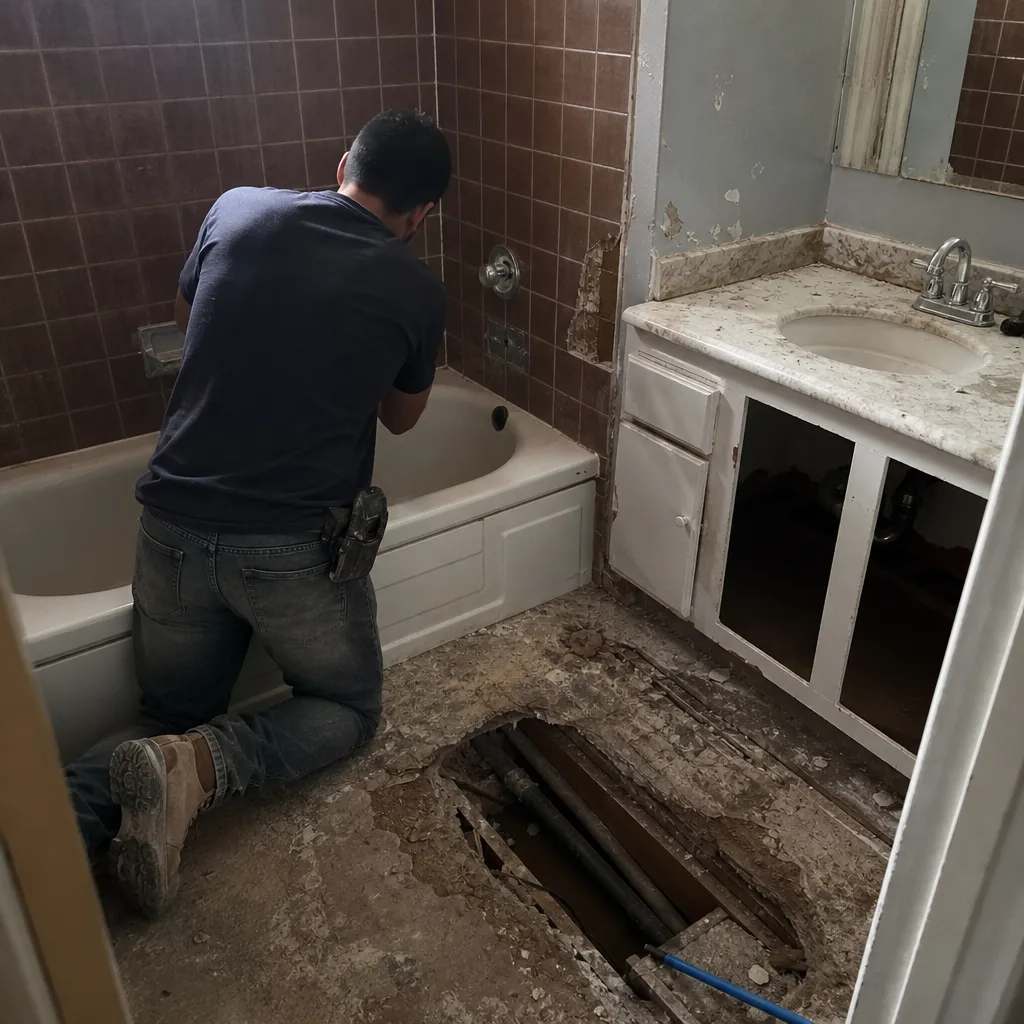 Before
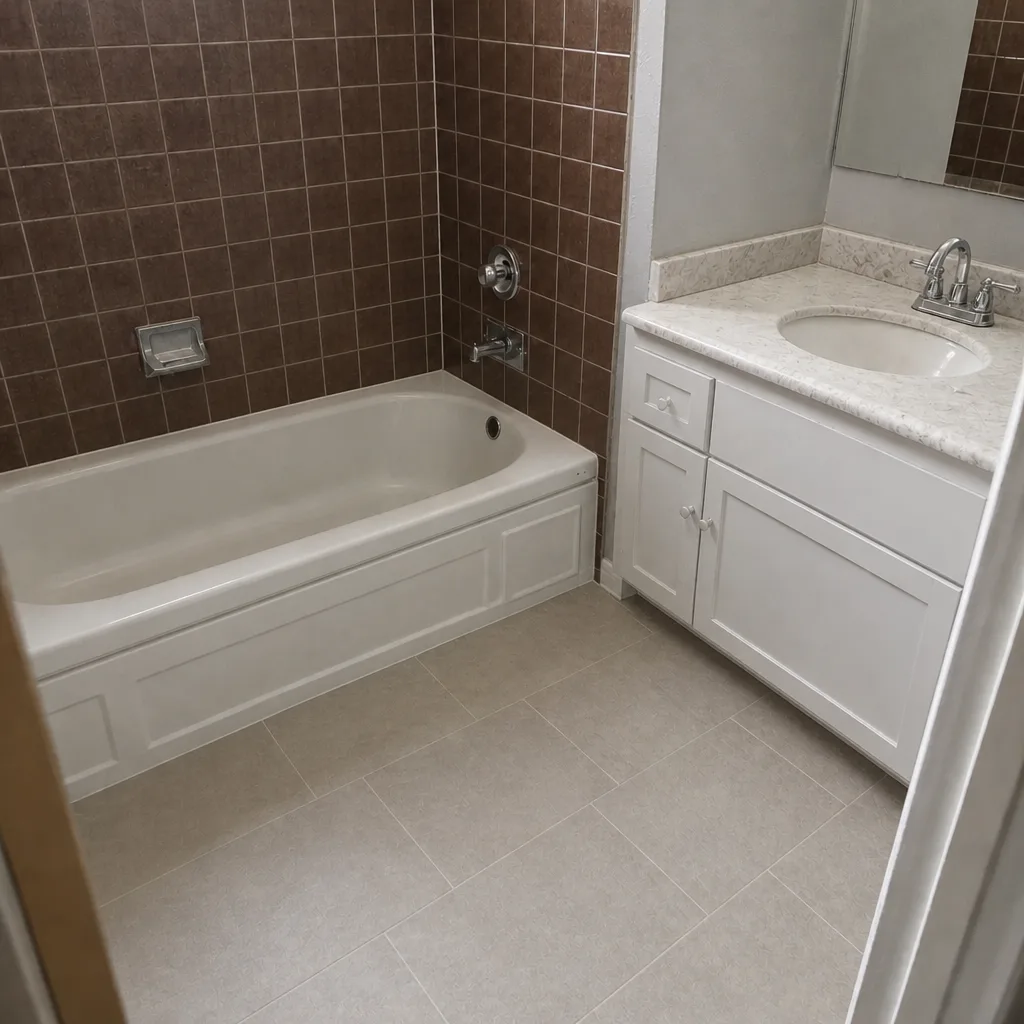 After
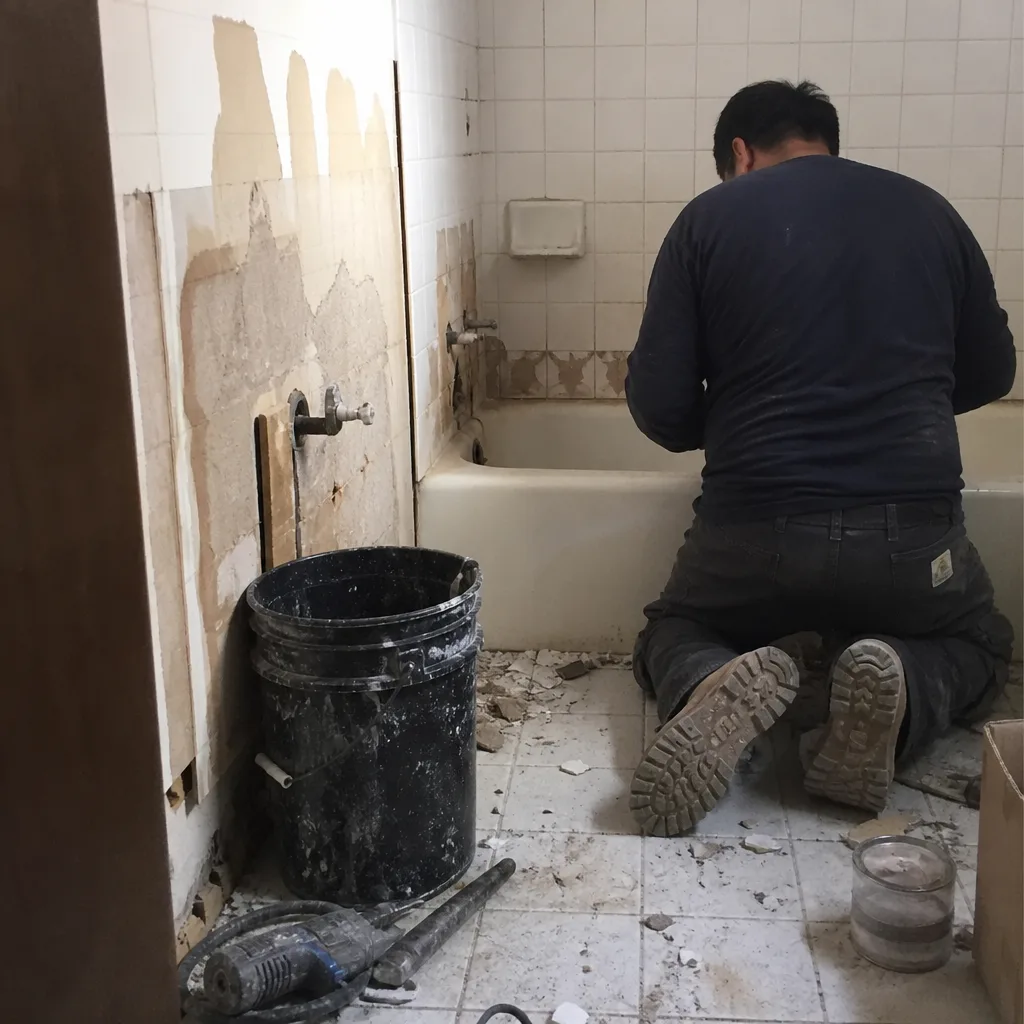 Before
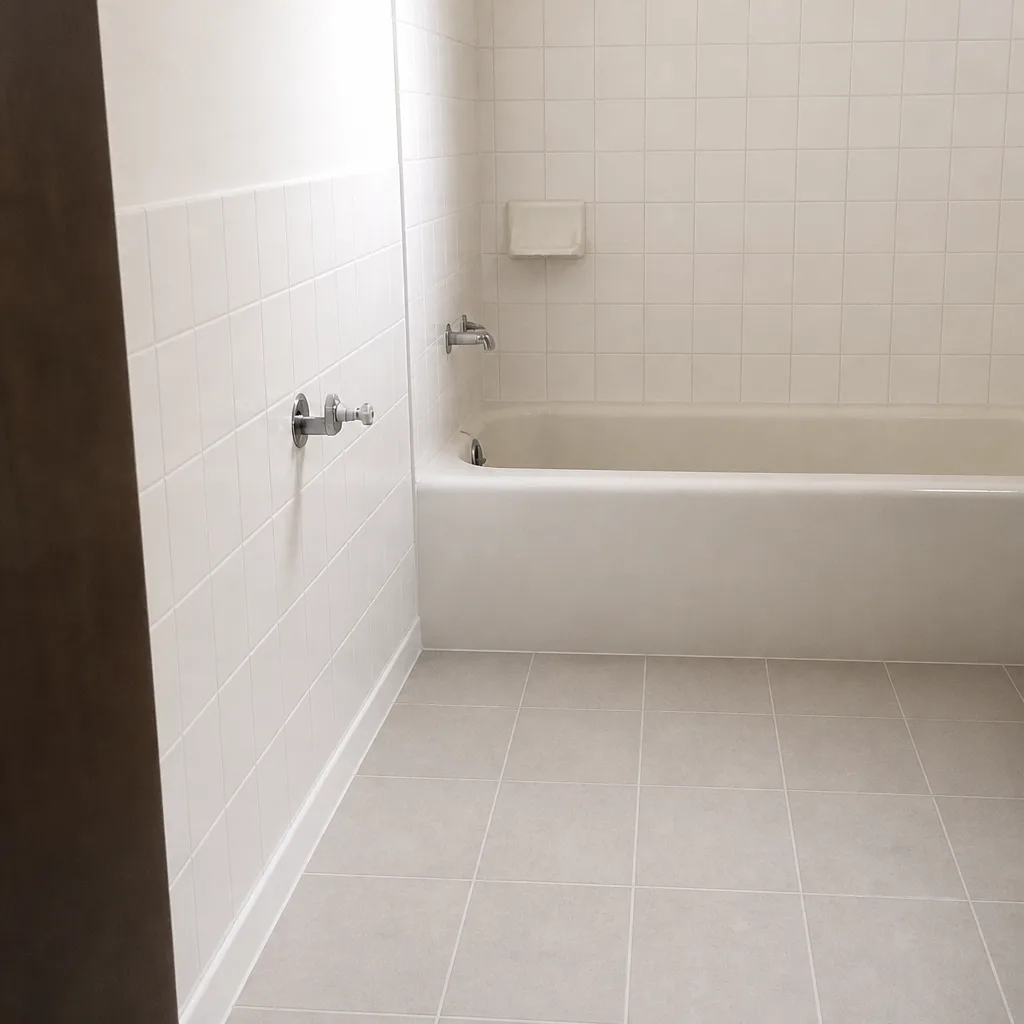 After
When to Call a Professional
Not every bathroom decision needs a specialist. Painting, swapping a shower curtain rod, or changing a vanity light is a homeowner job. But a few scenarios call for a professional bathroom remodeler: any project where the shower is being rebuilt, waterproofing is being replaced, plumbing or electrical is being moved, or the layout is changing. The same goes for a bathroom you’re living with that has cracked tile, persistent moisture at the ceiling, or a shower that’s accumulating water where it shouldn’t. These are signs that the waterproofing behind the tile has failed, and the fix is a rebuild of the wet zone, not a cosmetic patch. A same-day fix for a failed valve or a leak is worth a call. Bathroom Remodeling Spring Valley offers free estimates in Spring Valley. Call (844) 312-0122. We answer 24/7. Fast dispatch from 7am to 7pm, Sunday through Friday.
Frequently Asked Questions
Bathroom remodels in Spring Valley typically cost anywhere from around $8,000 for a focused hall-bath refresh to $30,000 or more for a full master bath with a walk-in shower and premium fixtures. The two biggest cost drivers are the layout (moving walls and plumbing adds substantially) and the fixture tier (from American Standard up through Toto and Grohe). Materials and waterproofing choices matter too. Call (844) 312-0122 for an exact quote on your room. Estimates are free.
A full Spring Valley bathroom remodel typically runs four to seven weeks, and a tub-to-shower conversion alone is usually closer to two. The length depends on your scope, the trade sequencing, and inspection timing. A detailed schedule with the estimate is the best way to know your specific timeline before work begins. Call (844) 312-0122 for a free estimate.
Yes. Las Vegas Valley water averages over 290 parts per million in hardness, nearly triple the national average, and that drives everything from finish choice to grout selection. Faucet finishes cloud faster, glass shower panels spot and etch faster, and standard cement grout shows scale within a couple of years. Selecting the right tile, grout and valve finishes during design prevents these problems over the life of the bathroom. Call (844) 312-0122 for a free estimate.
A tub-to-shower conversion is often the best value project in a Spring Valley bathroom, especially in a hall bath or master where the tub is rarely used. A walk-in shower expands accessibility, improves the daily shower, and generally improves resale value. The conversion is more than a fixture swap, though, because it involves reworking the shower pan and waterproofing. Call (844) 312-0122 for a free estimate.
It shouldn’t. A written, line-item estimate is the basis for the final price, and it’s the standard we work to. When a scope changes mid-project (an unexpected wall condition, an added fixture, or a layout change), those changes get priced in writing before work proceeds. That keeps surprises out of the project. Call (844) 312-0122 for a free estimate.
Yes, when the scope requires it. Most Spring Valley remodels involving plumbing or electrical changes will require permits, and the specific rules come from the local building department that has authority over your address. We schedule inspections and don’t close walls until they’re passed. Ask for permit details with your estimate. Call (844) 312-0122 for a free estimate.
The Bottom Line
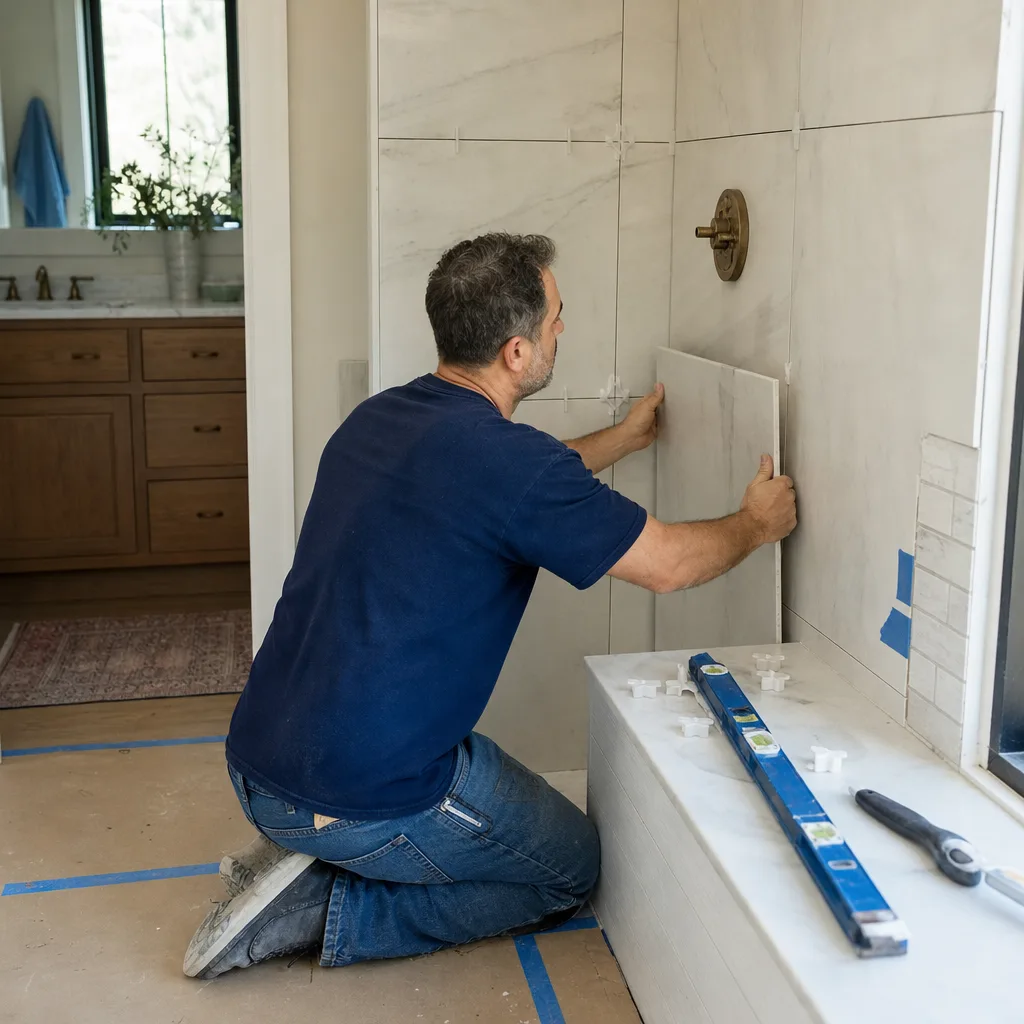
Bathroom remodeling in Spring Valley is a different project than a generic remodel guide will tell you. The water is hard enough to wear out fixtures and grout fast. The heat cycles through exterior walls and stresses materials. The tract-home layouts from the 1980s through the 2000s are tight enough that a smart walk-in shower conversion beats a wall move almost every time. Match brand tier to room, insist on Schluter-level waterproofing, sequence trades in the right order, and choose finishes that resist scale. Do that and the Spring Valley bathroom you build this year will still feel right in ten. Bathroom Remodeling Spring Valley specializes in full bathroom remodels, walk-in shower installs, and tub-to-shower conversions. Call (844) 312-0122 to schedule your free estimate. We answer 24/7. Fast dispatch from 7am to 7pm, Sunday through Friday.
Written by the team at Bathroom Remodeling Spring Valley.