Last updated November 18, 2026







Free in-home design visit - walk-in showers, tub-to-shower conversions, and Kohler, Moen, and Delta fixtures planned to your exact space
Bathroom Remodeling Troubleshooting in Spring Valley: Common Problems and How to Fix Them
Most post-remodel bathroom problems get blamed on bad luck. A cracked grout line. A caulk bead peeling away from the tub in six months. A showerhead that trickles. The truth is more useful than that: almost every one of these failures traces back to a specific step that got skipped, and in Spring Valley the margin for skipping is thinner than most homeowners realize. Our water runs hard enough that fixtures and sealants age faster here than the product literature assumes. This guide walks through the problems we hear about most, tells you how to figure out whether you’re looking at a cosmetic patch or a real failure behind the tile, and shows you where the line is between fixing it yourself and calling someone in.
Quick Answer
Most bathroom remodel problems in Spring Valley come down to three root causes: hard water attacking grout and caulk, installation shortcuts in waterproofing and shower pan construction, and pressure problems tied to valve and supply sizing rather than the fixture itself. Cosmetic cracks and peeling caulk can often be repointed and resealed. Hollow tile, soft subfloor, persistent moisture, or pressure that drops only in the shower usually means something behind the surface needs to be opened up and corrected.
Styles & brands we work with
- Walk-in shower
- Tub-to-shower
- Freestanding tub
- Kohler
- Moen
- Delta
- Frameless glass
Table of Contents
- How Does Hard Water Break Down Grout and Caulk in Spring Valley?
- Cosmetic Grout Crack or Waterproofing Failure: How Do You Tell?
- Why Is the Water Pressure Low After a Bathroom Remodel?
- Tile Lippage and Hollow Spots: What’s Acceptable and What Isn’t?
- The Shower Pan Liner Seam: The Weak Point Behind Most Water Damage
- Fixture Problems: When to Repair, When to Replace
- Ventilation and Moisture Problems in a Dry Climate
- Tub-to-Shower Conversion Problems and How to Avoid Them
How Does Hard Water Break Down Grout and Caulk in Spring Valley?
Spring Valley’s water runs hard – very hard by national standards. The dissolved calcium and magnesium that make it hard also leave mineral deposits on every surface they touch, and those deposits are mildly abrasive and chemically active against the sealants that protect your tile assembly. Cementitious grout is porous by nature; it depends on a sealer to keep water out. When that sealer wears down faster than the product assumes, water and minerals work their way in, and the grout starts to powder, crack, and stain.
Caulk fails on a similar accelerated timeline. The flexible bead around a tub or shower base is doing two jobs: keeping water out and absorbing movement between two different materials. Hard water deposits dry it out and stiffen it. Once it loses flexibility, the movement it was designed to absorb starts pulling it away from the surface instead.
What actually holds up here:
- Epoxy grout rather than cementitious grout in wet areas. It’s non-porous, so there’s no sealer to wear off in the first place.
- 100% silicone caulk at tub and shower base joints, not latex or siliconized acrylic. Silicone stays flexible longer and resists mineral buildup.
- Penetrating sealers reapplied on a schedule if you do go with cementitious grout – and the schedule here is shorter than the label suggests.
- A squeegee and a towel. The cheapest defense against hard water is drying the walls after use. It sounds trivial until you’ve watched a shower go five years longer than it had any right to.
The takeaway: in Spring Valley, sealant maintenance is not optional upkeep you get around to eventually. It’s the difference between a shower that lasts and one that starts showing its age in year two. When we plan a bathroom remodeling Spring Valley project, material selection gets weighed against the water, not against a generic spec sheet.
Cosmetic Grout Crack or Waterproofing Failure: How Do You Tell?
A grout crack is cosmetic if it’s hairline, isolated to a joint, and the tile on either side is solid underfoot. It’s a waterproofing failure if the crack follows a pattern, keeps returning after repointing, or comes with any softness, movement, or discoloration around it. The difference matters because repointing a crack over a failing waterproofing membrane just hides the problem while water keeps reaching the framing.
Here’s how to sort it out:
- Press on the tile. Solid tile means the substrate and thinset are intact. Flex or give means something underneath has failed.
- Tap with a plastic tool or knuckle. A sharp, hollow sound over a wide area suggests a void – thinset that didn’t bond. A small hollow spot near an edge is common and usually harmless.
- Check the grout line pattern. A single crack in one joint is cosmetic. Cracks that run along the same line, or that reappear within months of repointing, point to movement behind the tile.
- Look for efflorescence or dark staining. White mineral bloom or a dark wet-looking patch on grout that never dries is water moving through from behind.
- Check the floor outside the shower. Soft or lifting vinyl, a spongy transition strip, or a baseboard that’s swelling tells you water is escaping the shower assembly entirely.
If you’re seeing any of items three through five, stop repointing and get it looked at. The fix isn’t the grout. The fix is the layer under the tile.
Why Is the Water Pressure Low After a Bathroom Remodel?
Low water pressure after a remodel almost never means the new fixture is defective. In our experience it points to one of three installation issues: a clogged or restricted cartridge screen, undersized supply lines feeding a high-flow fixture, or debris that got into the line during the rough-in and never got flushed out. All three are installation problems, and all three are fixable without replacing the fixture.
First, the cartridge screen. Most single-handle faucets and shower valves have a small inlet screen behind the cartridge. Construction debris, pipe dope, or mineral scale collects there. It’s a five-minute check and a very common culprit in the first weeks after a remodel.
Second, supply sizing. A rain showerhead or a multi-function valve can move a lot of water. If the supply lines weren’t sized for that flow, the fixture will always feel weak no matter what you do at the trim. This one gets baked in during rough-in, so it’s worth specifying correctly up front.
Third, debris in the line. New plumbing gets flushed before fixtures go on for a reason. Skip that step and solder, flux, or plastic shavings end up lodged in the valve body.
Where the fixture is genuinely the weak link, this is where brand and spec matter. A pressure-balancing valve from Moen or Delta will hold temperature and flow more predictably than a builder-grade unit, and a Toto shower trim is engineered for consistent output at lower line pressure. That’s part of why we work with a range of brands – the right answer depends on the line pressure and the fixture, not on whatever happens to be in stock. If you’re considering a walk in shower build or rebuild, getting the valve and supply spec right at the start saves you from chasing pressure problems later.
Tile Lippage and Hollow Spots: What’s Acceptable and What Isn’t?
Lippage is the height difference between two adjacent tiles. Some is unavoidable – large-format tile on a floor will always have a slight edge because of natural warpage in the tile itself. But there’s a real line between “within tolerance” and “this needs to come out.”
What passes:
- Small, consistent height differences you can feel with a finger but not catch a fingernail on, particularly on floors.
- Hollow spots near the edge of a tile, within an inch or two of the perimeter, where thinset coverage commonly thins out.
- Minor lippage on a floor tile, where it’s not a trip hazard or a place water will pool.
What gets a section redone:
- Lippage you can catch a fingernail on, especially on a shower floor where it holds standing water and wears at the grout.
- Wide hollow sound across the center of a tile, which means the thinset didn’t bond across the face.
- Any movement or flex under the tile when you press. Movement means the setting bed or substrate is compromised, and no amount of grout will fix it.
For a shower floor, water pooling in a lippage dip is the real problem to watch for. A properly sloped pan drains and dries. A flat spot or a reversed slope doesn’t, and that’s a rebuild, not a reseal.
The Shower Pan Liner Seam: The Weak Point Behind Most Water Damage
If there’s one detail behind a disproportionate share of post-remodel water damage calls we hear about, it’s the shower pan liner seam. The liner is the waterproof membrane under the tile floor of the shower. It gets folded and seamed at corners and at the curb, and it needs to integrate with the drain flange at the center. When any of those connections is done wrong, water gets under the tile floor and sits in the setting bed – where it can’t evaporate, and where it slowly reaches the subfloor, the framing, the ceiling below, or the wall of the next room.
How a pan liner fails:
- Wrong seaming method. The liner needs a proper solvent-based seam adhesive or a bonded membrane system, not a lap joint held by gravity and hope.
- No pre-slope under the liner. A mud bed under the liner has to be sloped to the drain. If it’s flat, water pools on top of the membrane and can’t drain away.
- Fasteners through the liner. Nailing the liner to the curb or the framing is a common shortcut and a common leak point. Punctures defeat the whole membrane.
- Weep holes blocked. The drain assembly has weep holes that let water in the pan escape. They get plugged with mortar or debris during installation and the pan fills like a bathtub.
- No flood test. Before tile goes down, the pan should be filled and left to sit to confirm the liner holds. Skipping that test is the reason some failures don’t show up until months later.
This is exactly where the waterproofing system matters. Schluter Systems’ shower assembly builds the waterproofing into the substrate itself – a bonded membrane rather than a sheet liner with seams to fold and test. It’s the unglamorous layer nobody sees, and it’s the reason a shower lasts. If your shower was built on a sheet liner with a questionable curb or a flat pre-slope, that’s worth knowing before you spend money on more tile. When we handle bathroom remodeling in Spring Valley, waterproofing methodology gets specified before the tile design, not after.
Fixture Problems: When to Repair, When to Replace
Not every fixture that annoys you needs to be replaced. Some do. Here’s a rough guide to the decision, based on what actually drives the call.
- Dripping faucet, single hole: Usually a cartridge. Repairable, and worth fixing on a good faucet. A Moen cartridge replacement can give another decade of service at a fraction of the cost of a new unit.
- Handle that won’t stay tight or swings freely: Worn cartridge or a stripped retainer. Repair, unless the valve body is damaged too.
- Faucet that’s pitted and calcified across the chrome: That’s a replacement. Hard water eats the finish, and no repair fixes cosmetics.
- Toilet that runs or won’t shut off: Flapper or fill valve. Inexpensive repair, worth doing.
- Toilet that rocks at the floor or wobbles at the base: A flange or wax ring issue, and a sign water may already be getting under the floor. That’s a pull-and-reset, not a bolt-and-tighten.
- Shower valve that scalds or loses temperature with other fixtures on: Pressure-balancing function has failed. That’s a valve body replacement.
Where you’re choosing replacement brands, the tiers genuinely differ. American Standard and Sterling are workhorse lines that hold up well and don’t cost a fortune to service. Toto and Grohe sit at the premium end, engineered for consistent performance that holds over time. None of them are the “right” answer in the abstract – the right answer is matched to the use, the budget, and the build. That’s the value of a specialist with a full portfolio rather than a single house brand.
Ventilation and Moisture Problems in a Dry Climate
Here’s a counterintuitive one: Spring Valley’s dry climate can hide ventilation problems rather than solve them. Dry outside air pulls moisture out of a bathroom faster than most people expect, so a shower without a working exhaust fan seems to be fine. The moisture is still accumulating – it just leaves more slowly and less obviously. Then it collects in the ceiling assembly, the framing behind the tile, or the wall of the closet next door, and turns up as peeling paint, a smell, or a dark stain weeks later.
What actually matters on ventilation:
- The fan has to move real air. An undersized fan for the bathroom’s volume does very little. Sizing gets calculated, not guessed.
- The fan has to vent outside. Venting into the attic or the ceiling cavity pushes the moisture into the structure and creates a bigger problem than no fan at all.
- The run time has to be long enough. A fan that shuts off the moment you leave leaves the moisture behind. Timers or humidity sensors help, or just leave the fan running long after the shower.
- Duct work has to be direct. Long, flexible, sagging ducts collect condensation and cut airflow. Short and smooth is the goal.
If the existing fan was undersized and it stays in a remodeled bathroom, the problem stays too. That’s a small line item that pays for itself many times over.
Tub-to-Shower Conversion Problems and How to Avoid Them
A tub-to-shower conversion is one of the most-requested projects we get, and it’s also where shortcuts show up fastest. The conversion is a bigger job than it looks: the tub and its surround come out, which exposes the full wall cavity and the original waterproofing, and the new shower build has to deal with whatever’s behind them. Skipping the details in a hurry is how a five-year shower turns into a five-month problem.
Common problems after a conversion:
- The new pan doesn’t match the old drain location. A tub drain isn’t in the same spot as a shower drain. Moving it means real plumbing work, not a swap. Forcing the fixture to fit the old rough-in means a pan that isn’t level or a shower that drains poorly.
- Waterproofing stops at the wall face. The old surround was redundant layers of drywall and tub flange. A tile shower needs a proper membrane across the whole wet area, tied into a sloped pan, not a painted-on sealant over backer board.
- The shower floor isn’t sloped. A shower pan that doesn’t slope to the drain has standing water. Standing water in Spring Valley is standing water with minerals in it, and the grout and tile edge suffer first.
- Accessibility isn’t planned. For an aging-in-place conversion, the curb height, bench placement, grab bar blocking, valve reach, and showerhead placement all get decided before the walls close. Retrofitting them later means cutting tile.
- Framing wasn’t accounted for in the tile layout. A layout that doesn’t center on a full tile or that leaves a sliver at the curb edge is a tell. Layout is a planning step, not an improvisation.
Doing a tub-to-shower conversion properly is why we treat it as a core service rather than an add-on. If you’re considering one, this is a good place to understand what’s happening behind the tile rather than just choosing a finish. When we work on homes in Spring Valley, the conversion gets planned around the plumbing that’s actually there, the layout of the room, and how the homeowner wants to use the shower for the next twenty years.
Common Mistakes to Avoid
- Sealing brand-new cementitious grout too soon. Grout needs to cure before it gets sealed, and sealing it wet or too early traps moisture in the joints. In Spring Valley’s dry air, it’s tempting to rush this step – don’t.
- Using siliconized acrylic caulk in a wet area. It’s easier to work with and cheaper, and it fails much faster than 100% silicone under hard water. The joint around a shower base is not where you save on material.
- Repointing a crack without finding out why it cracked. A single crack can be cosmetic, but a return visit six months later almost always means the substrate moved and the grout was the messenger.
- Installing a large tile on a floor without checking the substrate. Big tile on an unflattened floor produces lippage that no amount of extra thinset fixes. Substrate prep happens before the first tile goes down.
- Skipping the shower pan flood test. It adds time to the job and it catches leaks before they’re buried under tile. Any contractor who wants to skip it is telling you something.
- Venting an exhaust fan into the attic. It seems like a shortcut, but the moisture ends up condensing in the roof assembly, which is a much bigger and more expensive problem than the duct run.
- Choosing faucets and valves by looks before checking the supply and flow. A high-flow showerhead on undersized supply lines will always feel weak, whatever the trim looks like on the wall.
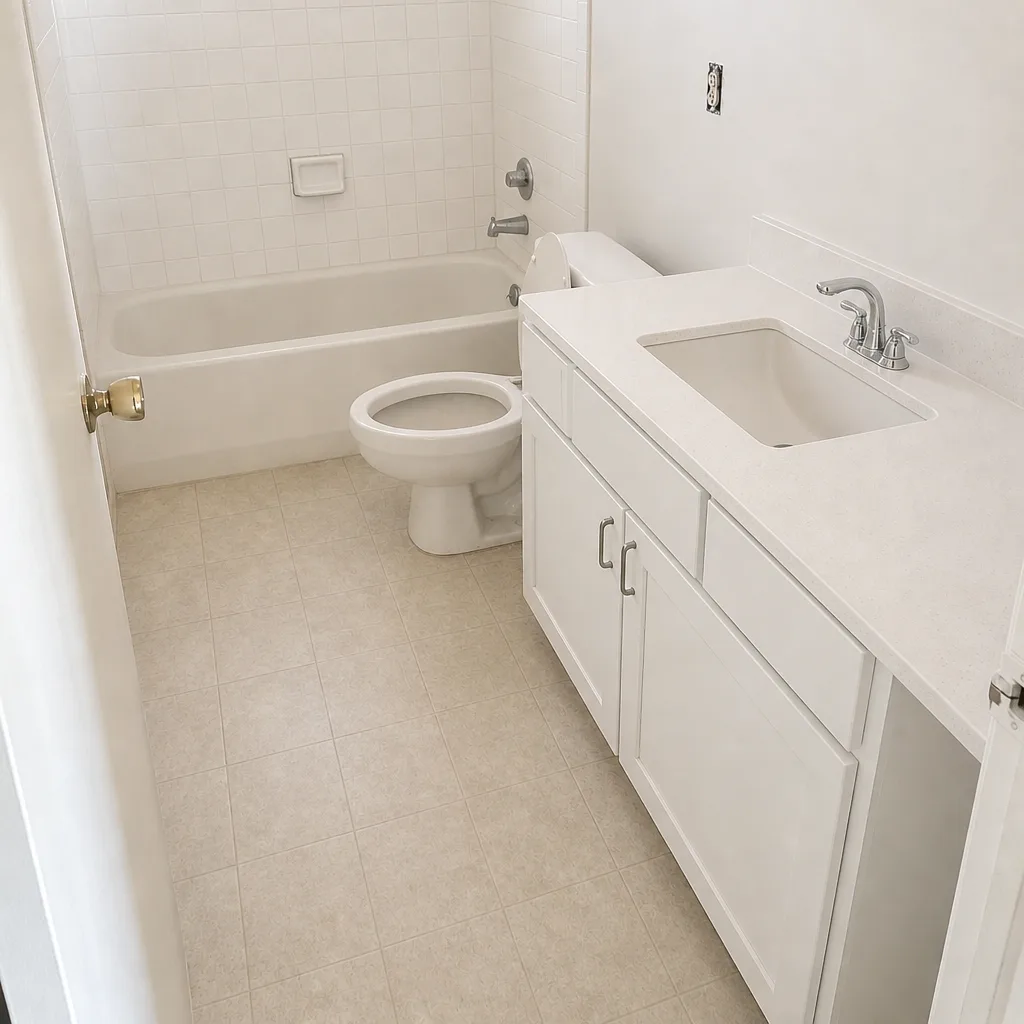
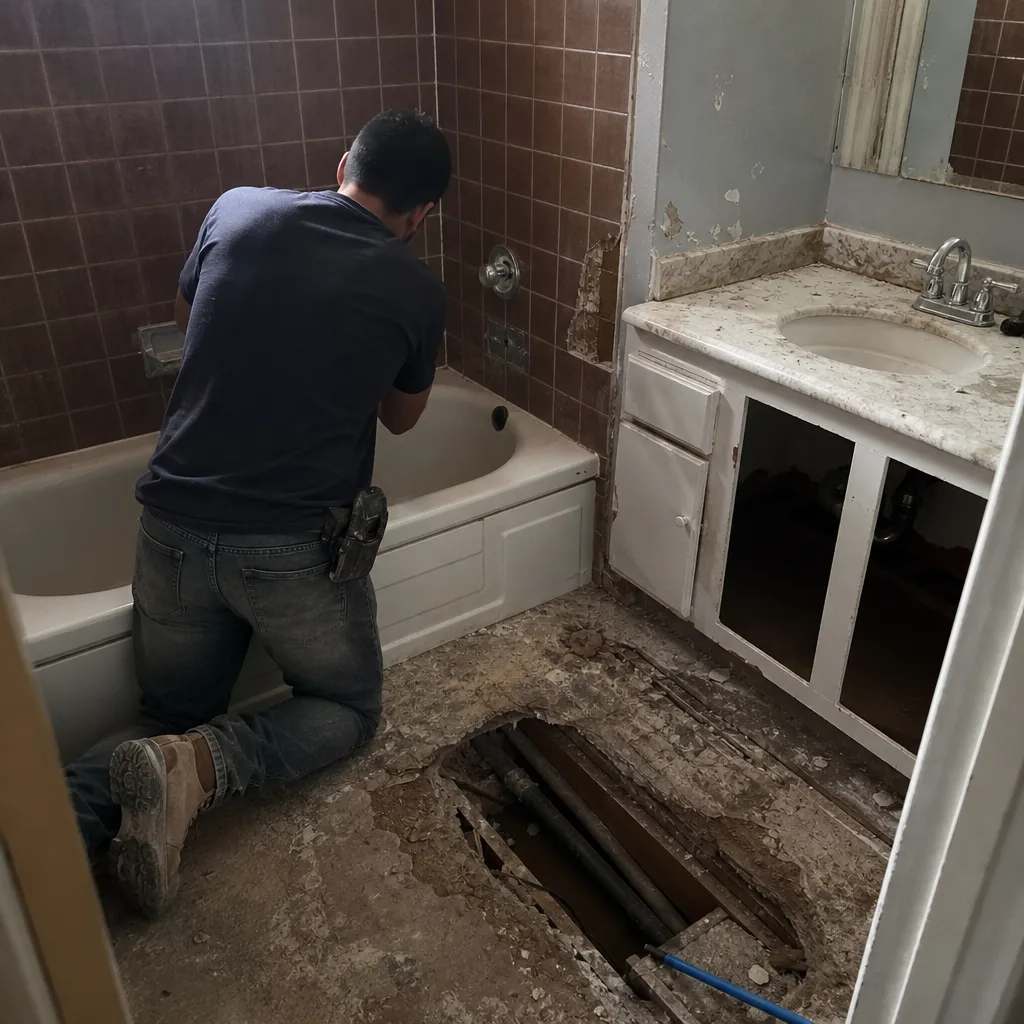
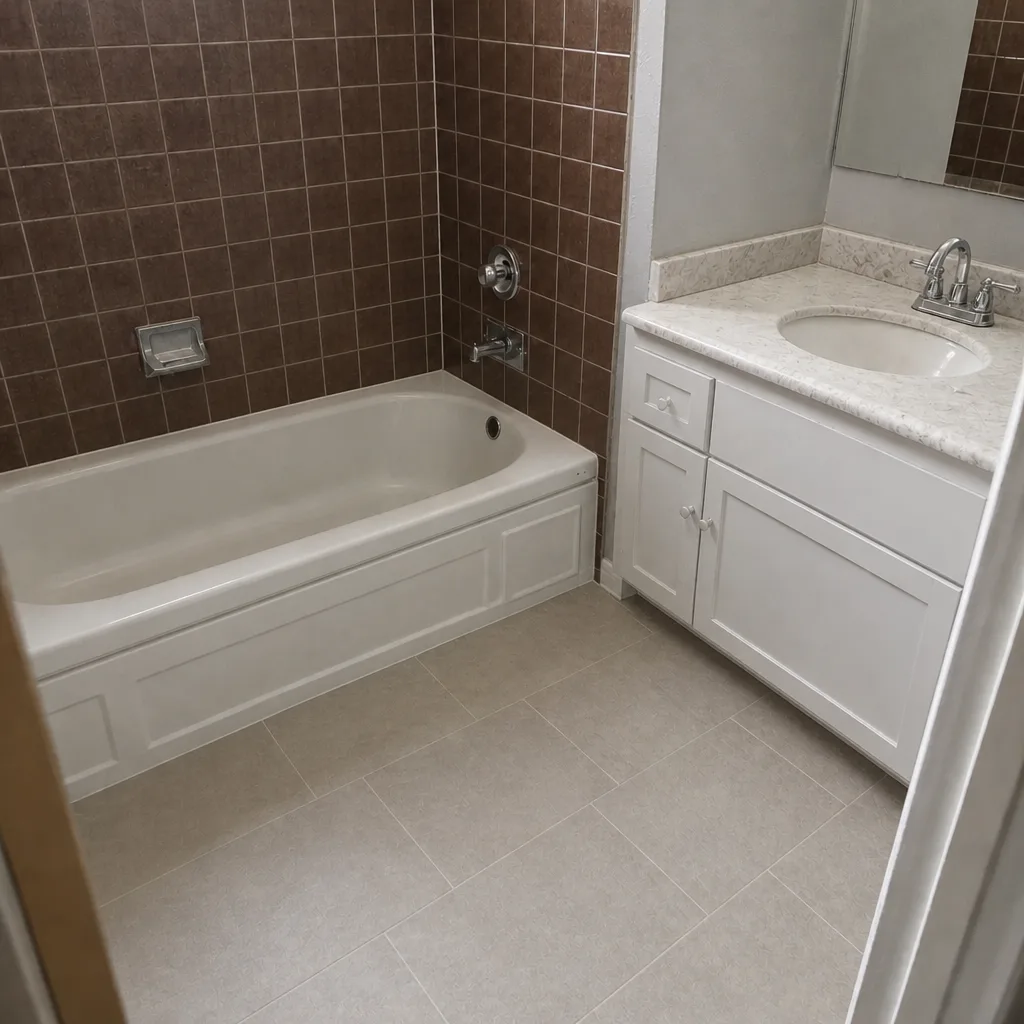
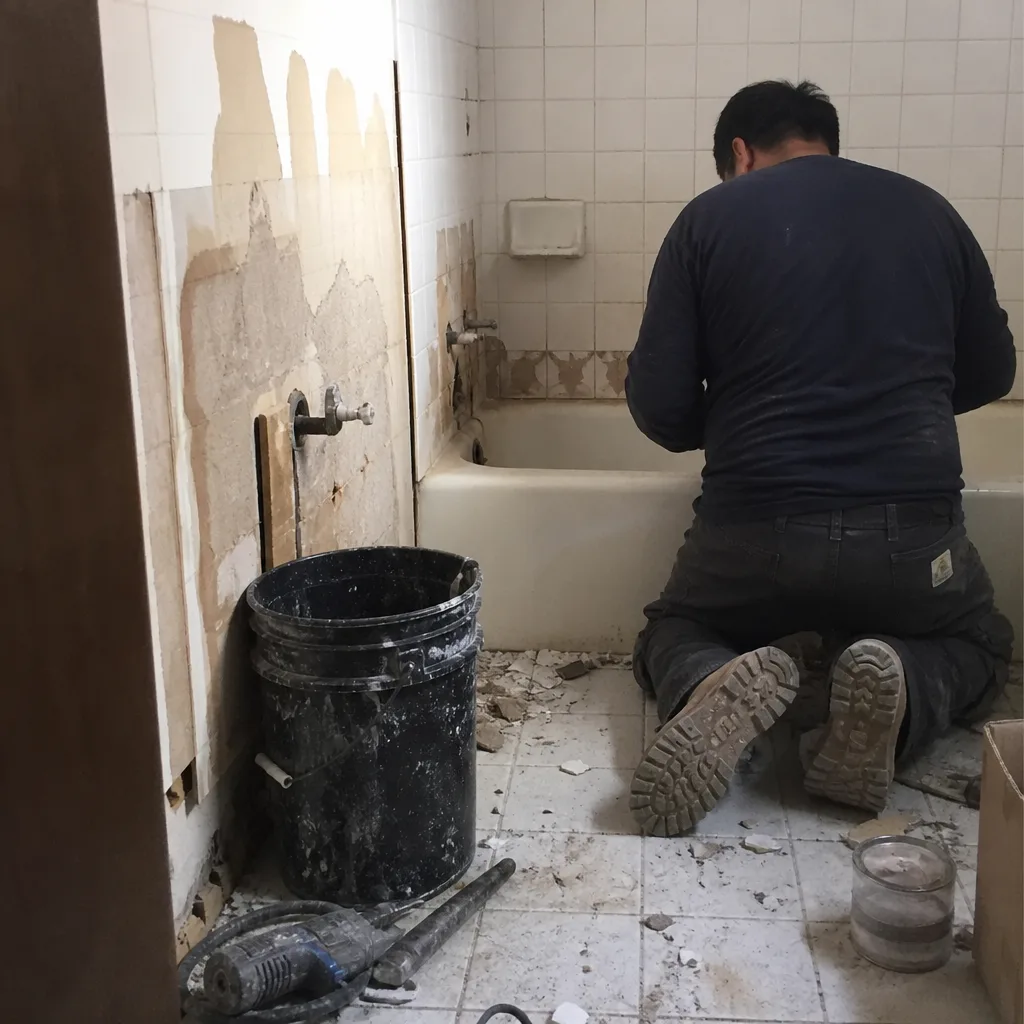
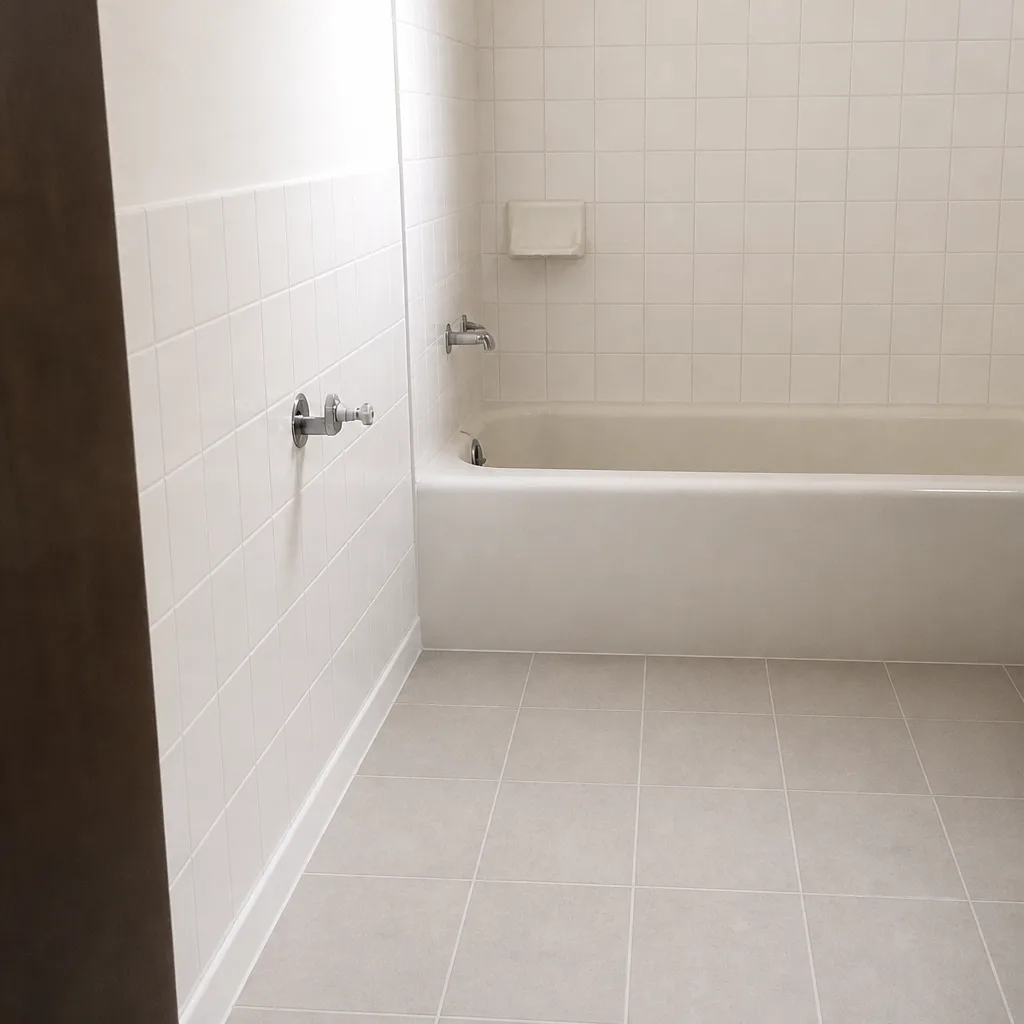
See the difference
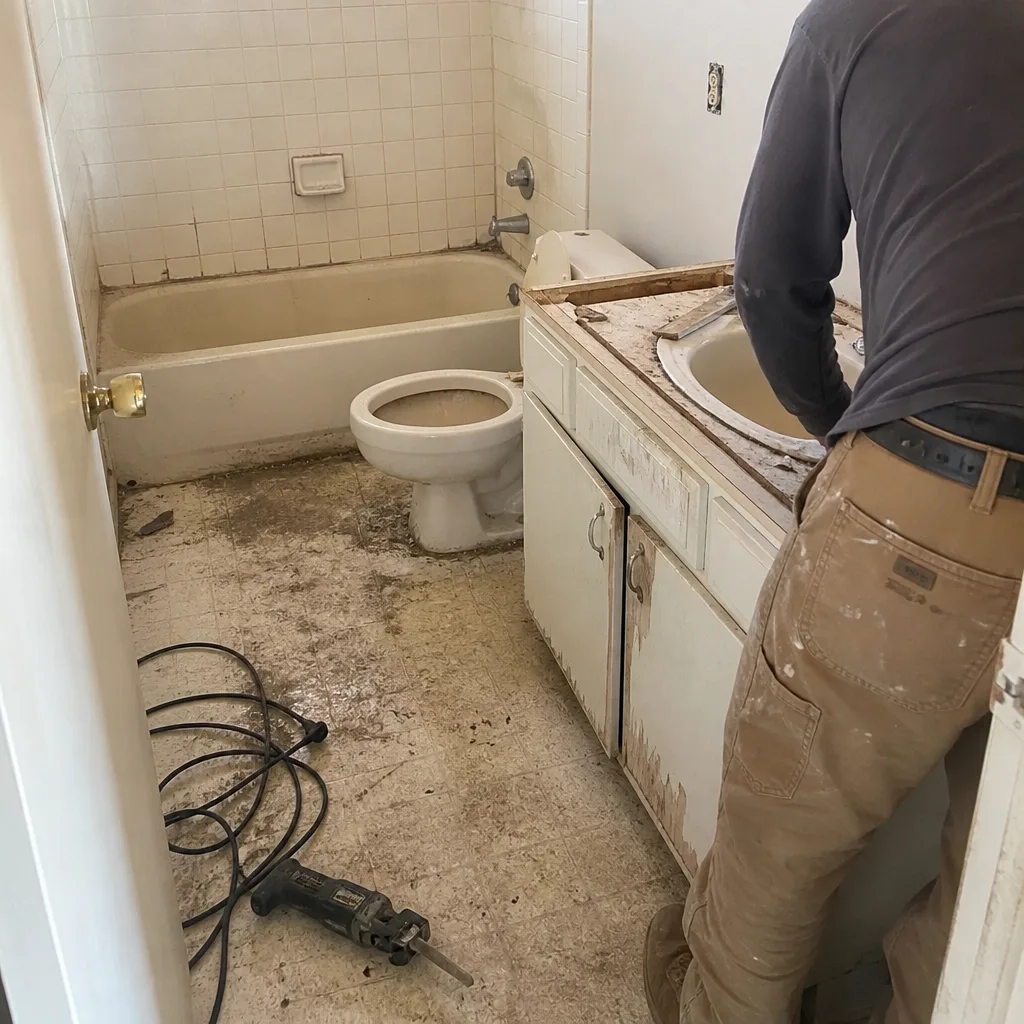 Before
 After
 Before
 After
 Before
 After
When to Call a Professional
Call a professional when the problem is behind the surface, not on it. Grout cracks that come back after repointing. Tile that feels hollow across the middle or flexes underfoot. Water showing up outside the shower – soft vinyl, lifting trim, a ceiling stain below. A shower pan that holds standing water or smells. A valve that scalds or loses pressure. A tub-to-shower conversion that was poorly done, or one that needs to be planned properly from the start. Those aren’t caulk-and-forget problems, and the cost of getting them wrong grows the longer they sit. Bathroom Remodeling Spring Valley offers free estimates in Spring Valley – call (844) 312-0122. We answer 24/7. Fast dispatch from 7am to 7pm, Sunday through Friday. Our technicians have up to 10 years of experience working bathrooms specifically, and the written estimate sets the price for the work.
Frequently Asked Questions
Sealed cementitious grout in a Spring Valley shower typically needs re-sealing more often than product literature suggests, and the caulk bead at a tub or shower base should be checked at least once a year. The water here is hard enough to break down sealants faster than in softer-water areas. Epoxy grout and 100% silicone caulk hold up substantially longer than their conventional counterparts. If your caulk is peeling within months, the surface wasn’t prepared or the wrong product was used – call (844) 312-0122 for a free estimate.
Usually not. Low pressure after a remodel commonly comes from a clogged cartridge screen, undersized supply lines, or debris left in the valve during installation. The fixture itself is the last thing to suspect. A technician can check the screen and the supply in one visit before you spend money replacing a fixture that isn’t broken. Call (844) 312-0122 to schedule a free estimate.
A hairline crack in one joint on solid tile is usually cosmetic. Cracks that run along the same line, return after repointing, or come with hollow-sounding tile or soft flooring outside the shower point to a waterproofing or substrate failure. Repointing a failing membrane just delays the damage. Call (844) 312-0122 and we’ll look at what’s underneath before anyone touches the grout – estimates are free.
Because the pan liner is the part of the shower you can’t see and can’t easily inspect, so mistakes or shortcuts there go unnoticed until water reaches the subfloor or the wall behind. Wrong seaming, missing pre-slope, fasteners through the liner, blocked weep holes, and skipped flood tests all cause failures that surface months later. A bonded membrane system like Schluter removes some of those failure points entirely. If your shower is showing water outside the pan, call (844) 312-0122 for a free estimate.
You can reseal a shower base joint yourself if the joint is clean, dry, and structurally sound. Pull the old caulk, clean the joint out fully, let it dry, and use 100% silicone rather than acrylic. It needs professional attention if the caulk keeps peeling away within months, if the joint behind it is soft, or if water has been reaching the wall. Call (844) 312-0122 for a free estimate if you’re not sure which you’re looking at.
Waterproofing that doesn’t match the new build. The tub surround was never designed to be a shower wall, and the conversion needs a full membrane system, a properly sloped pan, and a drain relocated to the shower position rather than forced to fit the old tub rough-in. Accessibility planning – curb height, blocking for grab bars, valve reach – also has to happen before the walls close. Call (844) 312-0122 for a free estimate on getting it done right.
The Bottom Line
Most bathroom problems that show up after a remodel in Spring Valley aren’t random and aren’t the fixture’s fault. They come from hard water that wears out sealants faster than expected, waterproofing details that got skipped or fudged, and installation choices that get locked in before anyone notices. The good news: each of those problems has a clear tell. Repointing and resealing handle the cosmetic cases. Hollow tile, soft edges, water outside the shower, or a pan liner seam that’s failed means the fix is behind the tile. If you can’t tell which you’re looking at, that’s exactly when it’s worth having someone look before the damage spreads.
Whether you’re troubleshooting a recent remodel or planning a Bathroom Remodeling Spring Valley project from scratch, the details that matter most are the ones you don’t see once the job is done. We work in bathrooms every day, and it shows in every detail. Call (844) 312-0122 for a free estimate. We answer 24/7. Fast dispatch from 7am to 7pm, Sunday through Friday.
Written by the team at Bathroom Remodeling Spring Valley.