Last updated November 18, 2026



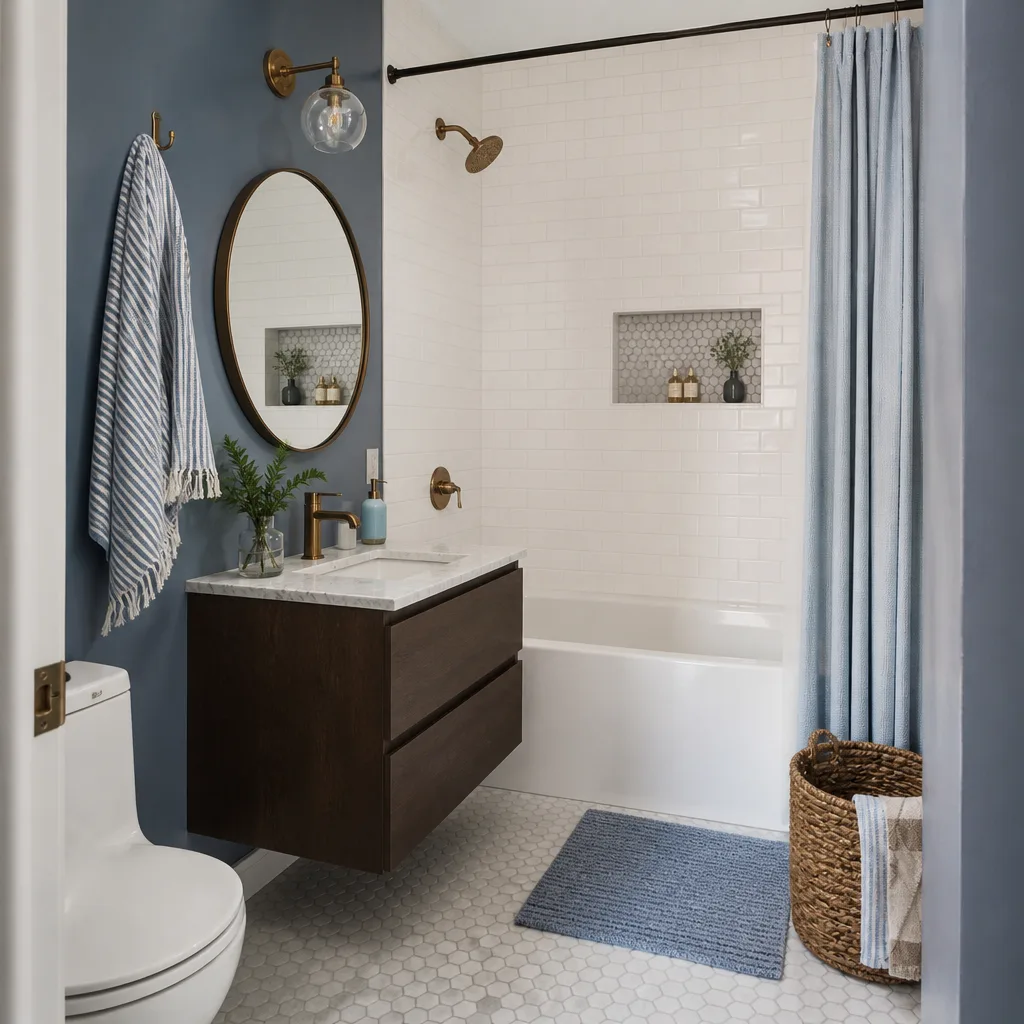




Free in-home design visit - walk-in showers, tub-to-shower conversions, and Kohler, Moen, and Delta fixtures planned to your exact space
Bathroom Remodeling Emergency Preparedness Guide for Spring Valley Homes
Most bathroom emergencies aren’t caused by the failure itself. They’re caused by the ten minutes of confusion that follow it. A supply line lets go behind a vanity, and the homeowner doesn’t know whether the water shutoff is under the sink, in a closet, or out by the street. By the time they find it, water has already soaked the cabinet base, wicked up the drywall, and started running into the next room. The difference between a quick repair and a full remodel usually comes down to how prepared you were before the failure happened. This guide walks through the shutoff valve locations in Spring Valley homes, which emergencies you can stabilize and which demand professional help, how slab foundations change the damage picture, and how to turn a bad day into a smarter remodel scope.
Quick Answer
To prepare for a bathroom emergency in Spring Valley, locate and label every water shutoff valve in your home before you need them, know the triage sequence (shut off water, cut power to wet areas, document everything, then call a licensed professional), and understand that slab-foundation leaks need professional assessment even when the floor looks dry. Knowing these three things is often the difference between a repair and a full rebuild.
Styles & brands we work with
- Walk-in shower
- Tub-to-shower
- Freestanding tub
- Kohler
- Moen
- Delta
- Frameless glass
Table of Contents
- Where Your Shutoff Valves Are in a Spring Valley Bathroom
- What You Can Stabilize Yourself and What You Can’t
- Why Slab Foundations Change the Damage Profile
- The Emergency Triage Sequence: Who to Call First
- Why Spring Valley Heat Waves Trigger Pipe Failures
- What to Document for Insurance Before Repairs Start
- Turning an Emergency Repair into a Smart Remodel Scope
- Your Bathroom Preparedness Checklist
Where Your Shutoff Valves Are in a Spring Valley Bathroom
Every Spring Valley bathroom has at least three water shutoff points, and most homeowners can only find one of them, usually after the emergency has already started. Here’s how to find all of them in the typical tract home layouts scattered across the valley.
Fixture shutoff valves
Under every sink in your home, you’ll find two small oval handles or quarter-turn valves on the supply lines leading up to the faucet. These are the first-responder valves. Under a vanity, they’re usually tucked against the back wall of the cabinet, sometimes behind a stack of towels or a cleaning caddy. In Spring Valley homes with a pedestal sink, the valves tend to sit low on the wall behind the pedestal, which means you sometimes have to kneel and reach around the column to get to them. Quarter-turn ball valves are the easiest to close in a hurry. If yours are the older multi-turn style, turn them clockwise until they stop, and don’t force them past that point.
Toilet supply valve
Look at the wall behind the toilet tank. There’s a small valve on a flexible line feeding the tank fill valve. In most Spring Valley tract homes, it sits roughly a foot above the floor, offset slightly to the left or right of the tank. Make sure the area around it isn’t boxed in by tile or trim, because you’ll need to reach it quickly if a tank or supply line fails.
Shower and tub valve access
Shower valves don’t have individual user-accessible shutoffs in most homes. The water feeds them from behind the wall, so you either shut off the whole-bathroom supply or the main house valve. In Spring Valley slab homes, the bathroom supply branch is often accessible through an access panel in an adjacent closet, hallway, or garage wall. Take ten minutes to look for that panel. If you don’t have one, we can tell you where one would need to go during a remodel.
Main water shutoff
This is the one that saves the house. In most Spring Valley homes, the main valve is either in the front yard near the water meter box, or in the garage against an exterior wall. Find it now, tag it with a bright zip tie or a labeled piece of tape, and make sure every adult in the household knows where it is. If you’re on a slab, the meter is typically at the street in a concrete or plastic box.
Water heater shutoff
Your water heater has its own cold-water inlet valve on top. If a heater develops a leak, closing that valve stops new water from feeding the tank while it drains. This matters during heat waves when the tank runs hotter and pressure relief kicks in more often.
What You Can Stabilize Yourself and What You Can’t
Not every bathroom emergency is equal. Some are homeowner-stabilizable. Others escalate from nuisance to structural damage in under an hour. Here’s the honest split.
Emergencies you can usually stabilize
- A running or refilling toilet. Shut off the supply valve, flush once to drain the tank, and leave it. You’ve stopped the water loss.
- A clogged drain or slow drain. Stop using the fixture and call for professional drain work. Don’t force a chemical drain cleaner into a slow drain, especially in older Spring Valley homes with cast iron or galvanized lines, where aggressive chemicals can eat through already-thin pipe walls.
- A dripping faucet or leaking showerhead connection. Close the fixture shutoffs, place a bucket, and dry the area. Cosmetic drips rarely escalate on their own.
- A cracked toilet tank. Shut off the supply, empty the tank, and remove the lid so stress doesn’t spread. A hairline crack is a scheduled repair, not a today-emergency.
Emergencies that require professional response
- A burst supply line or failed angle stop. Shut off the main immediately and call. Water behind the vanity can reach the subfloor and adjacent walls within minutes.
- Water coming up through the slab or floor. This is a slab leak. Shut off the main and call. Do not assume it’s fixed because the surface dries.
- Sewage backing up into a tub or shower. Stop using all water fixtures in the house. Call for professional sewer line work.
- Sparks, burning smell, or warm outlets near a wet bathroom. This is an electrical hazard, not a plumbing one. Leave the room and call an electrician before touching anything wet.
- Water under a tile floor or behind a wall that won’t dry. Hidden moisture usually points to an active leak behind the substrate. A moisture meter or professional assessment is needed.
When in doubt, shut the water off and call. Across Spring Valley homes we’ve worked in, the ones that come out of an emergency with the smallest repair are the ones where the water was shut off in the first two minutes, not the ones where the homeowner tried to troubleshoot first.
Why Slab Foundations Change the Damage Profile
Most Spring Valley homes sit on slab foundations, and that single fact changes everything about how a water leak behaves. In a home with a crawlspace or basement, water leaks down and can sometimes be seen and reached. In a slab home, water under the slab has nowhere to go but sideways, and it travels along the path of least resistance.
That means a pinhole leak in a copper supply line beneath the bathroom floor can surface ten feet away, under a bedroom carpet, or wick up into the baseboard of an adjacent hallway wall. Homeowners regularly tell us the bathroom looks completely dry but there’s water in the closet behind it. That’s how slab leaks work in the valley’s housing stock.
What to verify after any leak event
- Confirm the main shutoff was actually closed. If not, close it now, before doing anything else.
- Check the water meter with everything off. If the meter is still moving, there’s active water loss inside the system. That’s a strong signal you have a live leak even if you can’t see it.
- Test with a moisture meter, not just your hand. Drywall and tile can feel dry on the surface while the substrate behind stays wet for weeks.
- Walk the perimeter of the bathroom. Look for soft spots in the baseboards, bubbling paint, a musty smell, or a warm patch where the floor stays warmer than the surrounding tile. Warm floor spots can indicate a leaking hot-water line beneath the slab.
- Check any adjacent rooms and closets. Water travels under slab and can surface where you least expect it.
- Have a professional leak assessment before rebuilding anything. Rebuilding over an active leak guarantees you’ll be back in the same spot in a few months.
Surface cleanup is the wrong first move after a slab leak. It gives you a false sense that everything’s fine and delays the real fix.
The Emergency Triage Sequence: Who to Call First
When something gives way, order matters. Here’s the sequence we walk homeowners through, and it’s the one that consistently keeps water damage contained in Spring Valley bathrooms.
Step 1: Shut off the water
Close the fixture shutoff if you can reach it. If you can’t, close the main. Don’t hunt for the fixture valve while water sprays across the room.
Step 2: Cut power to any wet area
If water is near outlets, switches, or a light fixture, kill the breaker that controls the bathroom before you step in. Never touch a wet switch or outlet. If you can’t safely reach the panel, leave the house and call for professional help.
Step 3: Document before you clean
Take photos and a short video of the water spread, the damaged edges, and any visible wet materials. Do this before you mop, cut, or pull anything. Insurance adjusters want evidence of what happened before repairs, not after.
Step 4: Call the right professional first
Call a licensed bathroom remodeling or plumbing professional to stop the active leak. Water mitigation can follow once the source is stopped. Calling water mitigation first, without stopping the leak, just means water keeps coming while equipment runs.
Here’s what to have ready when you call:
- The address and the room within the house
- What happened (a burst supply line, a slab leak, sewage backup, etc.)
- Whether the main water was shut off
- Whether the power was shut off to the bathroom
- Approximate age of the fixtures and the home if you know it
Call (844) 312-0122. We answer 24/7. Fast dispatch from 7am to 7pm, Sunday through Friday, so a burst line doesn’t sit until the next day.
Why Spring Valley Heat Waves Trigger Pipe Failures
You wouldn’t think desert heat would be hard on indoor plumbing, but in our experience, it is. The combination of extreme summer temperatures and indoor air conditioning creates a back-and-forth stress cycle that residential water lines in Spring Valley feel every day.
Here’s how it works. Water in the lines feeding an exterior wall bathroom heats up when the wall bakes in the sun, and it cools quickly when an air-conditioned bathroom uses that fixture. That daily thermal swing expands and contracts pipes, fittings, and valve seats. Over years, small failures start. A supply line crimp loosens. A toilet angle stop weeps. A shower valve cartridge hardens. Then a hot afternoon pushes one of them over the edge.
There are two other heat-related patterns we see in Spring Valley:
- Outdoor supply lines or irrigation ties to the house. If a hose bib or exterior line feeds off an indoor fixture, the first hot stretch of the year is when you’ll see failures.
- Water heater pressure spikes. When ambient temperature rises, and the heater is already doing its normal relief cycling, an aging T&P valve or anode rod can finally give. That’s what floods the closet behind the bathroom.
The practical takeaway is simple. Late spring, before the first real heat wave, walk through every bathroom and check the supply lines behind the vanities, the toilet connection, and the water heater area. Fix anything that’s already weeping, stiff, or showing corrosion. That pre-season check prevents most of the summer calls we get.
What to Document for Insurance Before Repairs Start
The single most common mistake homeowners make after a bathroom emergency is cleaning up before documenting. Insurance adjusters need a record of the damage as it happened, and once you’ve mopped and torn out wet drywall, that record is gone. Here’s what to capture, in this order.
- Photos of the source. The failed fitting, the burst line, the leaking valve, the cracked tank. Get close-ups and a wider shot showing where it sits in the room.
- Photos of the water’s reach. Include all wet and stained areas: floors, baseboards, walls, adjacent rooms, and closets. Take a photo with a ruler or tape measure for scale if the water spread is significant.
- A short video walkthrough. Pan slowly from the source, across the room, and out the door into any adjacent space. Thirty seconds of honest video is worth more than twenty photos.
- Written notes. Date, time, what happened, what you turned off, and the order of events. Keep it simple and factual.
- Anything you had to move. If you had to remove rugs, towels, or a bath mat, keep them in a bag or photograph them. Don’t throw anything away until the adjuster has seen it.
- Any contractor quotes. If you’re getting an estimate on repairs before filing, keep the written quote alongside your other documentation.
Slab leaks especially benefit from this kind of documentation. Surface cleanup doesn’t show an adjuster the full scope, and the cost of a slab assessment or a floor rebuild is one of the more significant things a bathroom insurance claim can cover. If you’re not sure what’s covered, call your insurer and ask before you authorize anything beyond stopping the leak.
One more thing: if a professional needs to open a wall or floor to locate the source, document the opening and its contents before it gets patched. That photographic record is often the difference between an approved claim and a disputed one.
Turning an Emergency Repair into a Smart Remodel Scope
Here’s the counterintuitive truth about bathroom emergencies. Once a wall is open, a floor is up, or a vanity is out, you’re already three steps into a remodel. The question isn’t whether to remodel, it’s how much to add while the labor and access are already on site. Spring Valley homeowners regularly walk away from a small emergency repair with a much better bathroom because they made that decision thoughtfully.
This is where bathroom remodeling becomes the natural next step instead of a separate project later.
How to assess whether to expand scope
- Is the leak in a spot you were already planning to change? If you were already thinking about replacing the vanity or moving the toilet, an emergency that exposes those connections is the cheapest chance you’ll get to do it.
- Did the emergency expose a waterproofing failure? If the shower pan or tile surround is already failing, the repair won’t hold without redoing the waterproofing. That’s when walk in shower conversions often make sense.
- Is the fixture age a signal? If one angle stop or supply line has failed, the rest in the same bathroom are usually the same age. Replacing all of them during the repair prevents the next emergency.
- Was there existing deferred maintenance? Dated tile, a slow drain, a shower valve that’s hard to turn. Stacked together with the repair, they cost less to fix now than they will as a standalone project.
- Does this open an opportunity for accessibility planning? Many Spring Valley homeowners use a repair as the moment to install a curbless or low-curb shower with Schluter waterproofing behind it, so the finished bathroom still holds up twenty years from now.
When not to expand scope
Not every emergency should become a remodel. If the leak was small, the fixtures are recent, and you were happy with the bathroom a week ago, repair and move on. Our rule of thumb is to expand scope only when it lowers total lifetime cost, not when it just feels like a moment of momentum.
What a post-emergency remodel looks like when done right
During an emergency repair, the wall is open and the plumbing is exposed. That’s actually the best moment to install a fixture that’s built to last, like a Toto or Grohe shower valve, without paying twice for the labor. It’s also when we look at the shower substrate to make sure the waterproofing behind the tile is sound. We use Schluter Systems for our shower assemblies because a bathroom that gets rebuilt after a leak should not get a second leak later. From Moen to Grohe, we spec the right fixture for your budget, and we work every day in bathrooms so we know what a post-emergency repair needs to actually last.
If you’re in a Spring Valley home and you want a clear read on whether to repair or remodel after an emergency, call (844) 312-0122 for a free estimate and a written scope.
Your Bathroom Preparedness Checklist
This is the list we hand to every homeowner we visit, and it’s the one that actually prevents damage when something goes wrong. Do it once, then you don’t have to think about it again.
- Locate and tag the main water shutoff, and show everyone in the household where it is.
- Find and confirm the shutoffs under every sink, behind every toilet, and at the water heater.
- Photograph the location of every shutoff with your phone, then label the images so you can find them in a hurry.
- Check for an access panel behind the shower valve area, and know whether you have one.
- Document the current condition of every bathroom (photos and dates) so any future damage is easy to compare against.
- Store a water shutoff tool near the main valve if it needs one.
- Note the age of your supply lines, angle stops, and toilet fill valves if you know them.
- Keep the number for a bathroom specialist where you can find it without thinking: (844) 312-0122.
- Save your water and sewer provider’s emergency line in your phone contacts.
- Before the first heat wave each year, do a quick walk of the bathroom and water heater area for weeping, corrosion, or stiffness.
Common Mistakes to Avoid
- Hunting for a shutoff valve while water is spraying. The valve hunt should happen before the emergency, not during it. Tag the valves now.
- Assuming the surface is dry, so the leak is fixed. In Spring Valley slab homes, moisture travels under the floor and dries out the visible surface long before the subfloor or adjacent wall does.
- Running a chemical drain cleaner into a slow drain. In older homes with degrading pipes, chemicals can worsen the problem, and they don’t address the underlying blockage.
- Cleaning up before documenting. Insurance adjusters can’t approve a claim for damage they can’t see. Photograph first.
- Calling water mitigation before the leak is stopped. Equipment runs while new water keeps flowing in. Stop the source first.
- Replacing just the failed fitting. If one supply line in the bathroom has failed, the others in the same room are usually the same vintage. Replace them together.
- Assuming a repair means a delay before you can remodel. A repair that opens the wall is the cheapest moment to address deferred upgrades. It’s not a wasted opportunity if it’s planned right.
- Ignoring a warm patch on the bathroom floor. In slab homes, warm tile often means a leaking hot-water line beneath the floor, and it won’t fix itself.
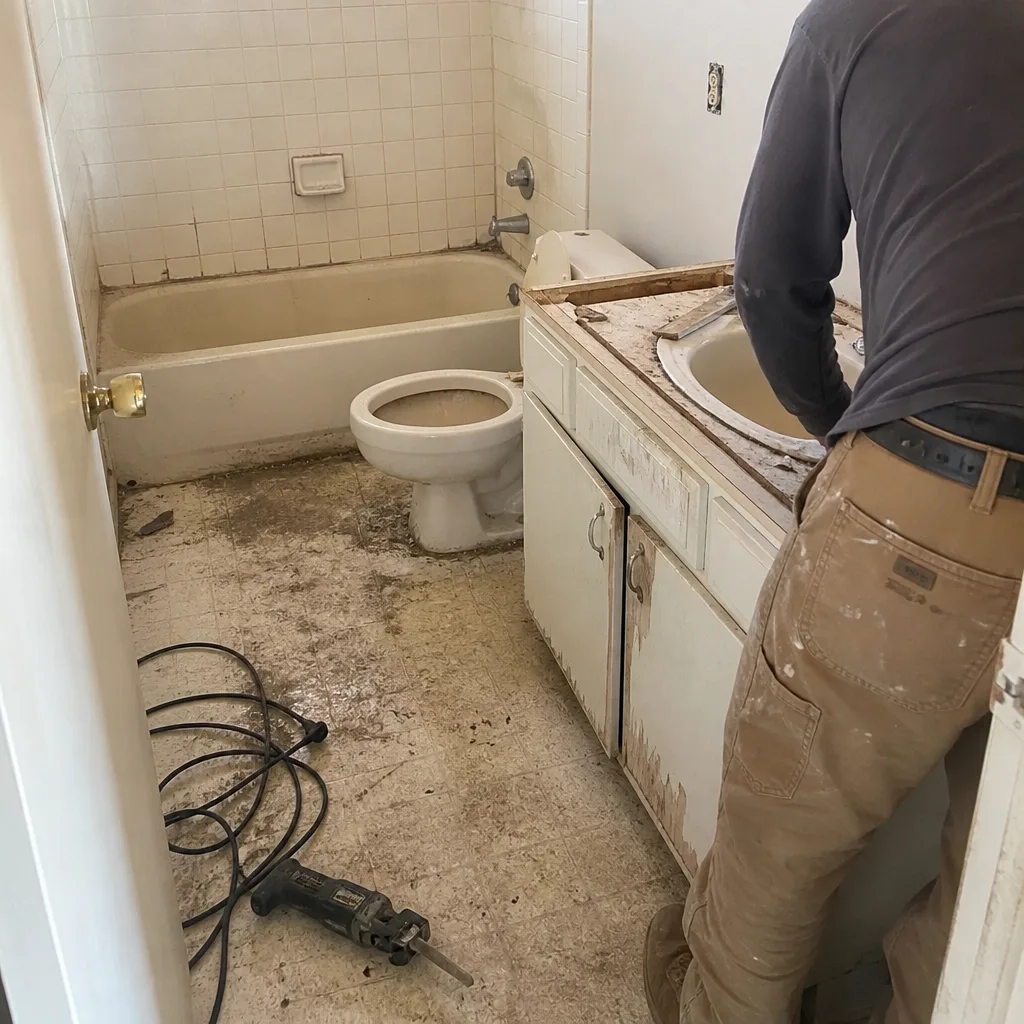
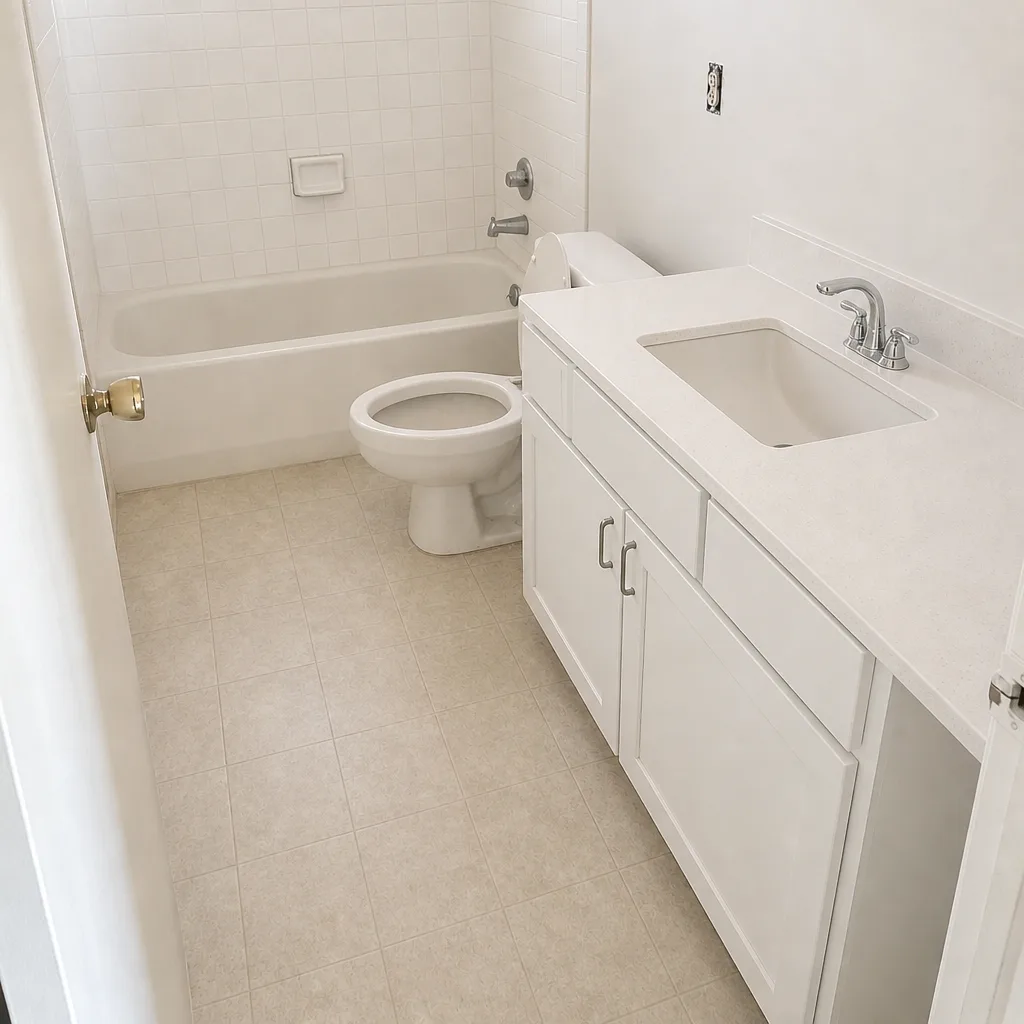
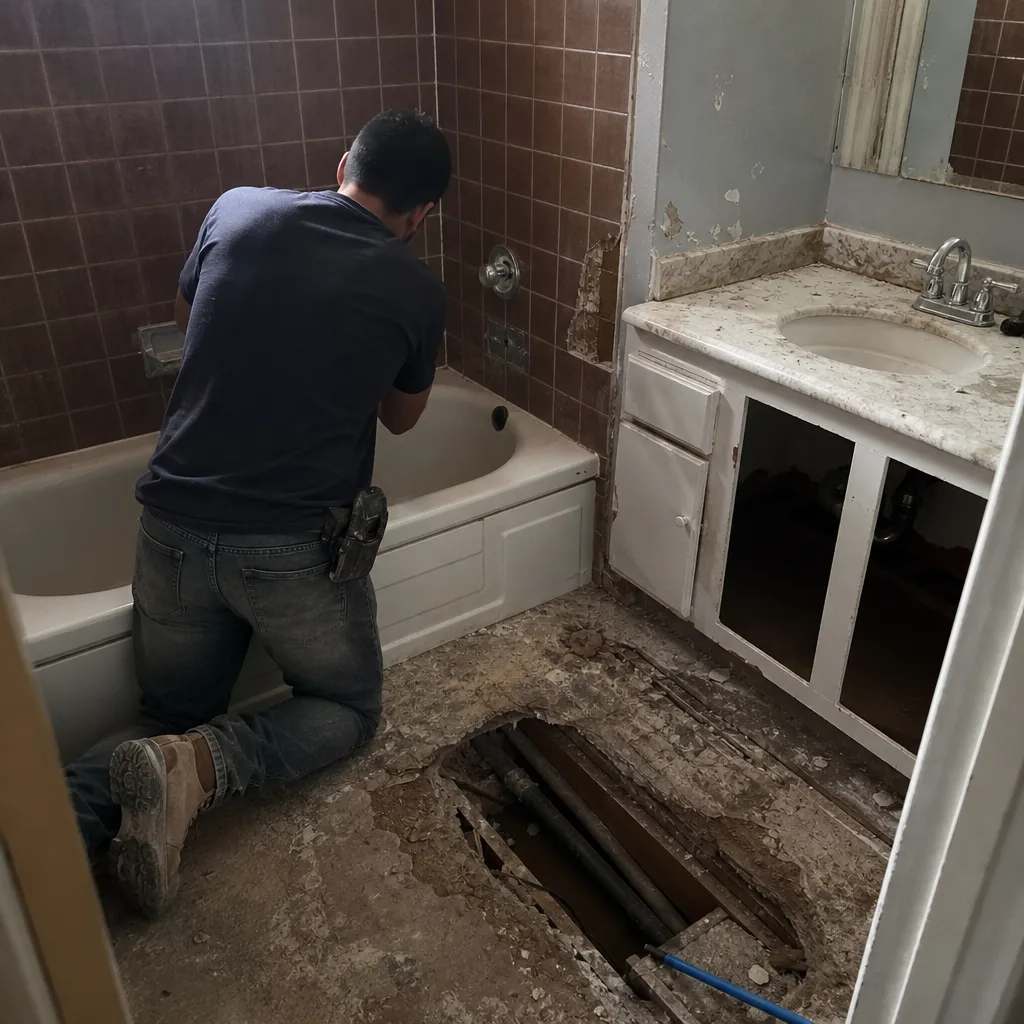
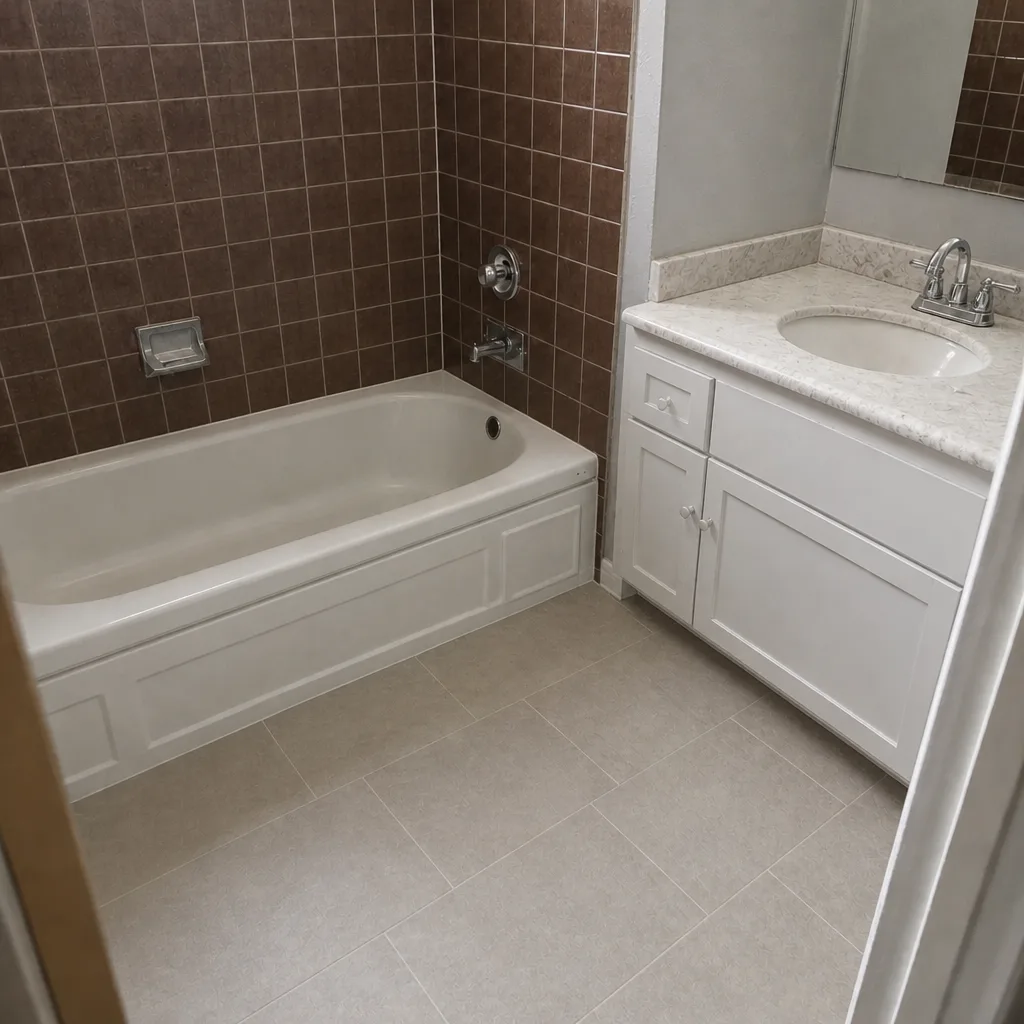
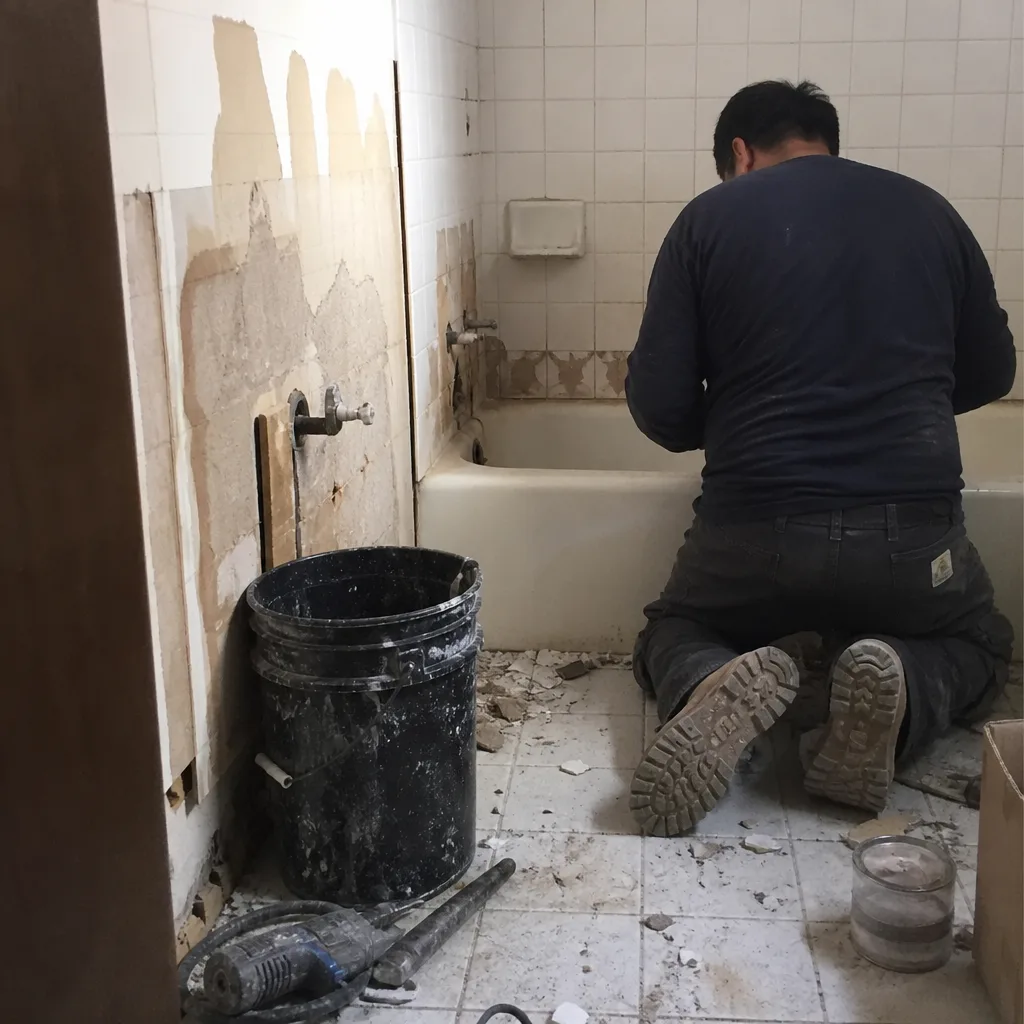
See the difference
 Before
 After
 Before
 After
 Before
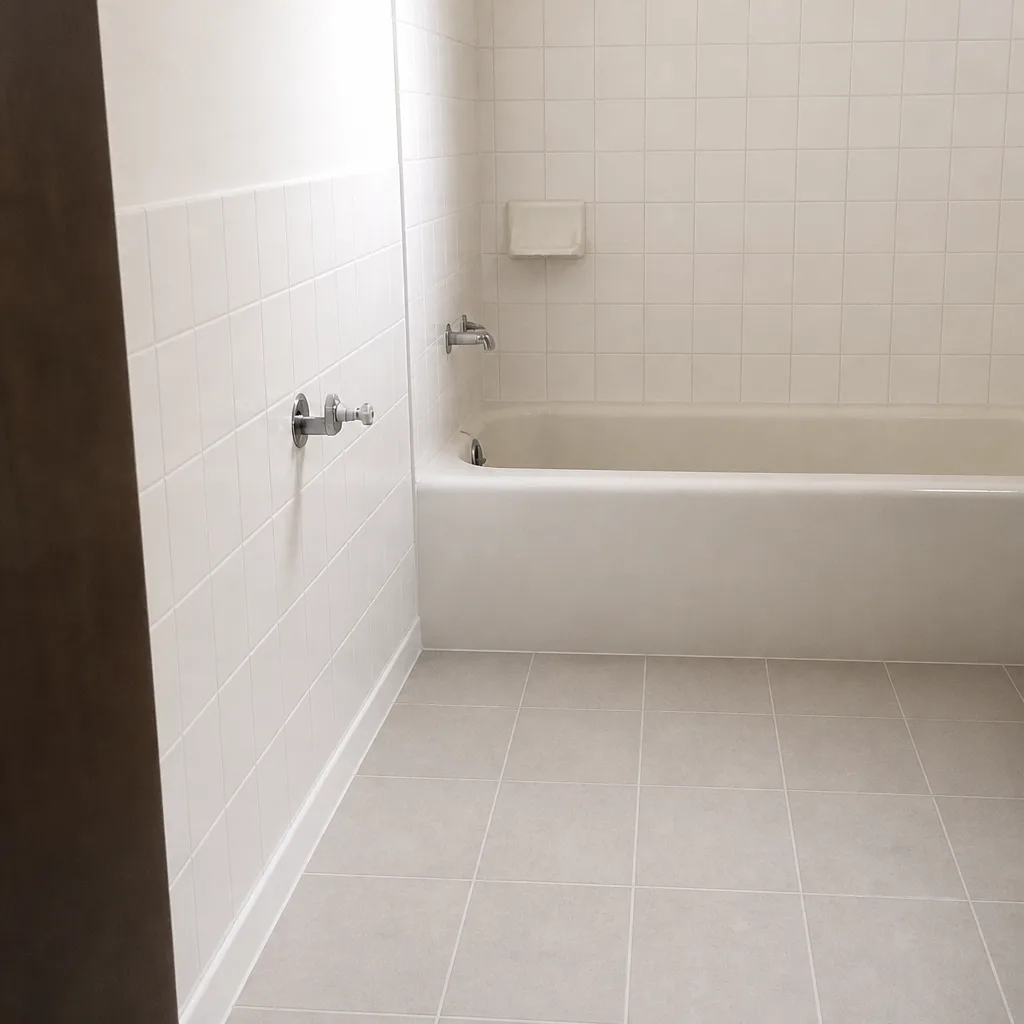 After
When to Call a Professional
Call a professional bathroom specialist if water is coming up through the floor, if the supply line behind a wall can’t be reached, if the source isn’t obvious after shutting off the main, if water has reached an electrical fixture or outlet, if sewage has backed up into a tub, or if a moisture meter reads wet behind tile or drywall more than 48 hours after the event. Also call if the leak has stopped but the bathroom has a smell, soft spot, or warm floor patch you can’t explain. Those are the signs of a hidden active leak. Don’t wait for it to escalate.
Bathroom Remodeling Spring Valley offers free estimates in Spring Valley – call (844) 312-0122. We answer 24/7, with fast dispatch from 7am to 7pm, Sunday through Friday. When we walk your bathroom, we tell you what’s repairable, what needs a full scope, and what the difference costs in writing.
Frequently Asked Questions
In most Spring Valley homes, the main water shutoff is either in the front yard near the water meter or inside the garage against an exterior wall. If your meter sits in a concrete or plastic box at the street, the shutoff valve is usually inside that box. Locate it once and tag it so you can find it in seconds. If you can’t find it, call (844) 312-0122 and we’ll talk you through the likely locations.
You can often stabilize a leaking toilet yourself by shutting off the supply valve behind the tank and drying the area. If the leak is coming from the tank-to-bowl seal, the fill valve, or the base gasket, that’s a repair a professional should handle. On slab foundations, water that reaches the subfloor or the wall behind the toilet is a professional assessment. Call (844) 312-0122 for a free estimate.
If your water meter is still moving with every fixture off, if a patch of floor stays warm, if a musty smell appears after the surface looks dry, or if baseboards near the bathroom are soft, you likely have an active slab leak. Those signs aren’t reliable without a professional moisture assessment, because slab leaks dry on the surface while they keep spreading below. Call (844) 312-0122 for an estimate before you rebuild anything.
Not automatically, but cleaning up before photographing the damage weakens your claim because the adjuster can’t see what was actually affected. Photograph everything, write down what happened, and keep any removed materials until the adjuster has seen them. Then call for repair. If you’re not sure what to document, call (844) 312-0122 and we’ll walk you through it – estimates are free.
We work across Spring Valley neighborhood layouts throughout the valley, and the pattern is less about one neighborhood and more about home age. Older tract homes tend to have older angle stops, older toilet seals, and galvanized or early copper supply lines that are closer to failure. Homes built more recently tend to have newer fixtures, but the same slab foundation, which means the damage profile of any leak is the same. If you’re unsure whether your fixtures are due, call (844) 312-0122 for a free estimate.
Start with your address, what happened, and whether you’ve shut off the water and power. Then let the professional ask follow-up questions. The most useful first three sentences are: “I have a burst supply line in the guest bathroom. I shut the main water off. The power to that bathroom is off at the breaker.” Call (844) 312-0122. We answer 24/7, with fast dispatch from 7am to 7pm, Sunday through Friday.
Sometimes, yes. If a wall is already open or a floor is already up, adding a waterproofing upgrade, replacing every aging supply line in that bathroom, or converting a tub to a walk-in shower costs less than it would as a standalone project later. Whether to expand depends on the fixture age, the waterproofing condition, and what you were already planning. Bathroom Remodeling Spring Valley offers free estimates in Spring Valley – call (844) 312-0122 for an honest read on whether to repair or remodel. For more on the overall scope, see our Bathroom Remodeling Spring Valley overview.
The Bottom Line
Bathroom emergencies in Spring Valley follow the same patterns: heat-driven supply line failures, toilet seal failures on slab, and shower valve failures during peak use. Preparedness is the variable that changes the outcome. Know your shutoffs, know which failures you can stabilize and which you can’t, understand that slab foundations hide leaks long after the surface dries, and document damage before you clean. From there, a repair decision is manageable. Sometimes the right call is a small fix. Sometimes the wall is already open, and it’s the right moment to upgrade the waterproofing, replace every aging fixture in the room, and walk away with a better bathroom. We work in bathrooms every day across Spring Valley, and the homeowners who come out ahead are the ones who thought about this before the emergency. Call (844) 312-0122 for a free estimate, and we’ll help you look at your bathroom now, before the first heat wave tells you what’s already at risk.
Written by the team at Bathroom Remodeling Spring Valley.