Last updated November 18, 2026








Free in-home design visit - walk-in showers, tub-to-shower conversions, and Kohler, Moen, and Delta fixtures planned to your exact space
Bathroom Remodeling Maintenance Checklist for Spring Valley Homeowners
Grout sealer applied during your remodel has a lifespan of 12 to 24 months in a high-use bathroom, but most homeowners assume it’s a one-time job. That assumption is what turns a finished bathroom into a water-damage problem. A remodeled bathroom starts to age the day the last tile goes in, and in Spring Valley the aging happens on a schedule the desert sets, not a schedule you choose. This guide covers the specific failure points a desert climate creates: what hard water does to chrome versus brushed nickel versus matte black, how AC cycling moves your caulk joints, why your vent fan clogs faster here than in a humid-climate home, and the annual checks that catch slow leaks before the subfloor goes. What follows is the checklist we’d hand a neighbor.
Quick Answer
A Spring Valley bathroom needs three maintenance rhythms: monthly (surface and mineral care), quarterly (caulk, grout, drain and vent checks), and annually (shutoff valves, toilet base and supply hardware, exhaust fan cleaning, and finish inspection). Sealed grout needs resealing every 12 to 24 months in a daily-use bathroom. The two desert-specific jobs most homeowners skip are mineral removal from hard water and pulling dust from the exhaust fan, and those two are what fail first.
Styles & brands we work with
- Walk-in shower
- Tub-to-shower
- Freestanding tub
- Kohler
- Moen
- Delta
- Frameless glass
Table of Contents
- Why a Remodeled Bathroom in Spring Valley Starts Failing Early
- Hard Water Mineral Buildup: What Each Finish Tolerates
- The Caulk and Grout Inspection Schedule (AC Cycling Changes It)
- Ventilation Fan Checks and Why Desert Dust Wins
- The Annual Toilet Inspections That Save Your Subfloor
- Finish-Safe Cleaning Products vs. the Ones That Eat Your Investment
- Seasonal Calendar: What to Do Each Quarter
- When It’s Time to Call a Bathroom Specialist
Why a Remodeled Bathroom in Spring Valley Starts Failing Early
A bathroom in Spring Valley dries out unevenly, and that drying pattern is what causes most of the damage you can’t see. A hot, dry climate pulls moisture out of caulk, grout and wood framing quickly, and quick drying isn’t the same as safe drying. Materials that shrink and re-expand are materials that crack, and cracked caulk lines let shower water behind the tile instead of keeping it out.
The bigger local factor is the AC. Spring Valley homes run air conditioning through most of the warm season, and every AC cycle changes the temperature inside your bathroom. That swing means your caulk and grout joints are expanding and contracting more often than the same joints in a milder climate, and more cycles means faster fatigue at every corner, seam and floor-to-wall transition. In our experience, the average Spring Valley bathroom doesn’t need a repair in month six because the work was bad. It needs one because the daily thermal load on the joints is heavier than the products are built for at full life.
Here’s what that means in practice:
- Corners and seams go first. Caulk at the shower surround corners and the floor-to-wall joint takes the most movement, so it tires before the flat joints do.
- Grout lines under the shower head fail quietly. The wettest zone dries fastest and cracks most, and most homeowners don’t look up.
- Water hides behind the wall. Once caulk opens at a corner, water travels down behind the tile and stops at whatever’s on the other side. You find that out from drywall, not from the shower.
None of this means a finished bathroom can’t last decades in Spring Valley. It means the maintenance schedule has to match the climate instead of the generic advice on a sealer bottle. A remodeled bathroom is a system, and the parts that keep it dry are the parts most people ignore. If you want to see how an install handles the details that matter later, worth reviewing the bathroom remodeling work we do around town.
There’s a second local pattern worth naming. Spring Valley has a lot of mature bathrooms with original subfloor sheathing, and a lot of tub-to-shower conversions over standard plywood. That subfloor sheathing can’t handle a slow drip for months the way newer construction does. When we do a walk-in shower build, the waterproofing layer is the entire conversation: Schluter Systems membrane under the tile is what stops a hairline crack from becoming a floor repair. A shower that’s not properly waterproofed will always require more maintenance. A shower that is will hold up its half of the bargain.
Hard Water Mineral Buildup: What Each Finish Tolerates
Hard water mineral buildup appears in timelines homeowners can predict and prevent: chrome and polished surfaces show deposits within days to weeks because scale is visible against the metal, while brushed nickel and matte black hold up better visually but take the same mineral load and need the same cleaning. Spring Valley water is hard, and that means every shower head, faucet and tile surface in the house is accumulating calcium and magnesium. The damage isn’t from the minerals themselves; it’s from how you remove them and how fast the finish wears after the fact.
Finish type determines the cleaning method, and getting this wrong is how people void a finish warranty without knowing it. Here’s the practical breakdown:
- Chrome: The most forgiving finish. Mineral spots show fast, but chrome tolerates mild acidic cleaners in diluted form and tolerates glass cleaners. Wipe weekly with a soft microfiber cloth and clean deposits with a diluted white vinegar solution, then rinse thoroughly. Chrome is a finish you can be a little aggressive with.
- Brushed nickel: The matte-brushed grain traps mineral film, and abrasive pads dull the grain permanently. No scrubbing pads, no powder cleansers. Undiluted acid left sitting on brushed nickel causes pitting, so dilute and rinse every time.
- Matte black: The most sensitive of the three. Matte black is a coating, and coarse cleaners, hard water left to dry in place, and any abrasive microfiber with a scrubbing texture will wear that coating. Clean gently, dry after every use, and never leave an acid cleaner on the surface.
If your new fixtures are Grohe or Toto, their finish specifications are the reason to be precise. Premium European and Japanese finishes are engineered to spec, which means they hold up well when treated to their spec and fail when treated with whatever’s on the grocery shelf. The same logic applies to a Kohler or Moen valve body. The number of years a faucet lasts is mostly a function of the fixture’s water chemistry, and the water chemistry on the inside depends on the aerator maintenance on the outside.
Numbered approach to mineral removal without finish damage:
- Wet first, then soak. Dampen the deposit with a soft cloth, apply a diluted vinegar solution, and let it sit 5 to 10 minutes. Never leave it longer.
- Move with a soft brush, not a pad. A toothbrush gets deposits out of the shower head threads and the aerator screen without a scuff.
- Rinse with plain water. Acid left in a corner keeps working after you leave and that’s the failure mode.
- Dry completely. A towel on the faucet after each shower costs 15 seconds and buys years.
- Check the aerator monthly. A clogged aerator screen is the single most common cause of low flow complaints in a hard-water home, and it’s a five minute fix.
The Caulk and Grout Inspection Schedule (AC Cycling Changes It)
In Spring Valley, inspect and touch up caulk four times a year, because air conditioning cycling causes far more joint movement than a stable climate does. If you want one reliable timeline, here it is: inspect caulk every three months, reseal grout every 12 to 24 months, and look at grout in the wet shower zone every six months. Scale it up or down by daily use, but don’t skip the quarterly look.
A useful inspection method requires no tools and takes ten minutes:
- Run the shower before you inspect. Warm, wet caulk shows gaps a dry bathroom hides, and a hairline crack you can’t see dry will be obvious when wet.
- Press, don’t just look. Run a finger along each caulk joint. If the bead lifts from the tile or the tub, that’s a joint that needs replacing, not a joint that needs looking at.
- Check the corners first. Shower surround corners, floor-to-wall joints and the base of the toilet are the first three places to open.
- Look at the grout lines in the shower. Pinholes and missing grout in the wet zone let water into the substrate.
When you replace caulk, the surface prep matters more than the tube. Caulk doesn’t stick to wet, dusty or leftover silicone, and springing for a higher-quality caulk won’t save a joint that was sealed over a dirty surface. Cut it out clean, let the joint dry, and check it again the next day.
Grout is a separate schedule. Sanded and unsanded grout both need sealing, and the sealer wears. A bathroom used by two people every morning will burn through sealer faster than the bottle says, so trust the water test instead of the calendar. Drop water on the grout line. If it beads, the seal is intact. If it darkens and sinks in within a minute, reseal. That test works any day of the year in Spring Valley and takes less time than reading the bottle.
Ventilation Fan Checks and Why Desert Dust Wins
A bath fan in Spring Valley clogs with dust and lint faster than a fan in a humid climate, and that seems backwards until you think about what the fan is pulling. In humid climates there’s more surface moisture and less airborne particulate. Here, the desert air moving through a home carries dust, and every fan pulls indoor air loaded with it. Spring Valley dust, along with household lint, collects on the blower wheel and against the grille. A fan working harder to move the same air is a fan that pulls less moisture out of the room.
Here’s a four-step ventilation check to run on the same quarterly schedule as your caulk inspection:
- Test with a tissue. Hold a single tissue sheet against the fan grille while it’s running. If it stays pressed to the grille, the fan is pulling air. If it falls, you have a problem to chase.
- Look at the grille. Dust and lint across the grille reduce airflow. Most grilles pop off with a gentle pull and rinse clean with warm water.
- Listen for the motor. A grinding or humming motor is usually a dust-loaded blower wheel, and dust on a spinning wheel unbalances it over time.
- Check the run time and the exhaust path. A fan that runs during and 20 minutes after a shower removes far more moisture than a fan run for five minutes. And a fan that isn’t actually venting outside is just moving moisture around. That’s worth a real check: look for the duct at the fan housing and confirm it runs up and out, not into the attic.
If a fan is undersized for the room, blocked by a crushed duct, or the motor is going, the fix isn’t a new grille. It’s usually the fan. A proper bath fan replacement, or a rebuild during a walk in shower project where the ceiling is open anyway, is the right moment to size the fan to the room. If you’re already replacing tile and drywall, the fan cost is minor next to what you’re already doing. If you haven’t started, get the fan working first. Older bathrooms with poor ventilation will always show more tile and drywall wear regardless of how well the tile was installed.
The Annual Toilet Inspections That Save Your Subfloor
Most slow toilet leaks are invisible from standing height, and in Spring Valley the dry air makes the damage show up late, which is exactly what makes the annual check important. A slow supply leak or a failing wax ring drips under the base and into the subfloor, and a desert climate dries the exposed parts while the trapped moisture keeps working downward. By the time a soft spot in the floor is obvious to a bare foot, the water’s been there long enough to matter.
The annual inspection is mostly looking carefully:
- Look under the base and behind the toilet. A flashlight at floor level shows a stain, a dark spot, a swelling in the flooring or a ring on the tile that doesn’t match the tile around it. Don’t assume the tile was installed that way.
- Check the supply line and the shutoff valve. A supply line that’s been in place long enough to swell, harden or form a slow drip at the connection is a problem to replace. The shutoff valve needs to turn by hand; if it’s stiff or won’t close, it should be replaced before the day you need it.
- Confirm the tank isn’t leaking into the bowl. A drop of food coloring in the tank water, 20 minutes, and a look in the bowl will tell you. Color shows up and the refill isn’t running correctly.
- Test the floor around the base. Press down with your weight. A little compression isn’t unusual in old flooring but any give around the flange area with a persistent smell is a call.
Does the toilet need to come up to investigate? Often yes, and a toilet that leaks around its base from a failed wax ring needs to be reset. That reset is quick, and it’s dramatically cheaper than a subfloor repair. If you’re tired of the layout as well as the leak, it’s worth knowing that a new bathroom layout is a different job and different budget.
Finish-Safe Cleaning Products vs. the Ones That Eat Your Investment
The safest daily cleaning routine for any bathroom finish is mild soap and water, followed by a dry towel, and more fixtures fail from aggressive cleaners than from dirt. Spring Valley’s hard water encourages people to reach for strong acid descalers. A coating or finish doesn’t need a stronger chemical to survive, it needs a more consistent wipe-down.
What to avoid, and why:
- Bleach-based sprays on metal. Repeated bleach contact dulls finishes and can pit coated metals. Bleach has a place, but it’s not on your faucet.
- Undiluted white vinegar sitting on surfaces. Vinegar is a useful mineral remover when diluted and rinsed. Left to sit, it attacks finishes and sealant.
- Abrasive powders and scrubbing pads. They’re the fastest way to dull brushed nickel and to wear through matte black coating. Not even once.
- Ammonia glass cleaners sprayed on anything other than glass. Ammonia on metal finishes strips sealers and dulls plating. Window cleaner stays on the mirror.
- Acid drain cleaners poured on purpose. A drain clog is an appliance water path. If you’ve got a slow drain, use a plunger or call a plumber, not acid, which can damage plumbing finishes and the fittings under the floor.
What works, and what it protects:
- Mild dish soap and warm water: the default cleaner for every surface in the room, all finishes, all fixtures.
- Diluted vinegar or a proper hard-water remover: for mineral buildup, diluted and rinsed. If you use a commercial descaler, check the label against your fixture brand’s care instructions. Kohler and Moen publish care guidance for a reason.
- Sealed natural stone or quartz in the vanity: a pH-neutral cleaner labeled for the specific surface, never an acidic all-purpose spray.
- Microfiber cloths: one for each surface. Reusing a towel that’s been on the toilet base on your faucet is a good way to spread what you’re cleaning.
If you can keep track of one rule, it’s this: a cleaner strong enough to smell like a clinic is probably too strong for a finished bathroom. Warm water and a soft cloth are the highest return-per-second maintenance tool you have. For the surfaces behind all this, an anti-slip tile floor handles cleaning much the same way the wall tile does, but every floor material has a care spec.
Seasonal Calendar: What to Do Each Quarter
Here’s the calendar version of everything above, organized around a Spring Valley year and built for a quick scan. Copy it to your phone.
Monthly
- Wipe faucets, shower heads and trim dry after use.
- Remove and rinse aerator screens if flow drops.
- Wipe down the shower door and squeegee it after each use to slow hard-water film.
Quarterly
- Inspect caulk with the wet-hand test; replace any that lifts.
- Remove and wash the exhaust fan grille; test flow with the tissue check.
- Check grout lines in the shower for pinholes and missing material.
- Look under the toilet base and behind the base with a flashlight.
Annually
- Grout sealer water test; reseal if water sinks in.
- Check both supply lines and shutoff valves by hand; replace supply lines showing wear.
- Confirm the fan moves moisture out; investigate any crushed or disconnected duct.
- Inspect finish surfaces on faucets and shower trim for pitting, coating wear or film buildup.
- Walk your shower and tub surround with a flashlight at eye level to catch the cracks you can’t see from above.
The pattern is simple. The parts you touch daily get wiped monthly. The parts that keep water where it belongs get inspected quarterly. The parts that could empty your savings account if they fail get looked at once a year.
When It’s Time to Call a Bathroom Specialist
Call a bathroom specialist when the problem crosses from maintenance to repair: caulk joints that won’t stay sealed no matter how many times you redo them, grout that’s crumbling rather than cracking, a soft spot at the toilet base, a rust stain on the tank or a persistent musty smell after cleaning. A shower pan that moves when you step, water staining visible from the room below, or a fan that is clearly not venting are all signs a layer of the shower or the wall needs opening up. A trained pro should handle anything that means pulling back the tile, opening the shower wall or exploring under the floor, because that’s where hidden moisture damage lives.
The right moment to talk to a specialist isn’t only when something is broken. If your maintenance keeps turning up failures in the same bathroom, the failure points are telling you it’s time to rebuild rather than repair. That’s when it makes sense to get a picture of what a full Bathroom Remodeling Spring Valley project looks like, from waterproofing to fixture choice.
Our technicians have up to 10 years of experience with the details that keep a Spring Valley bathroom dry. Bathroom Remodeling Spring Valley offers free estimates in Spring Valley. Call (844) 312-0122. We answer 24/7, with fast dispatch from 7am to 7pm, Sunday through Friday.
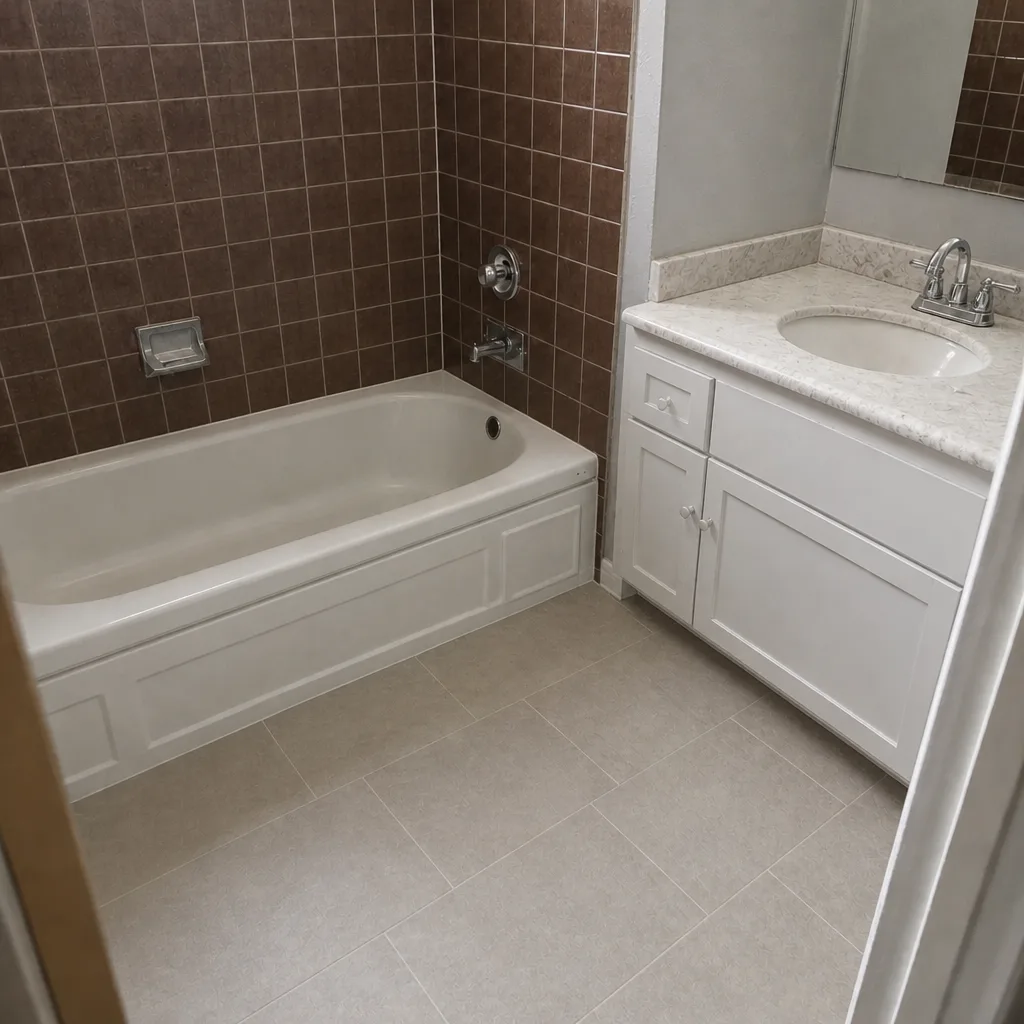
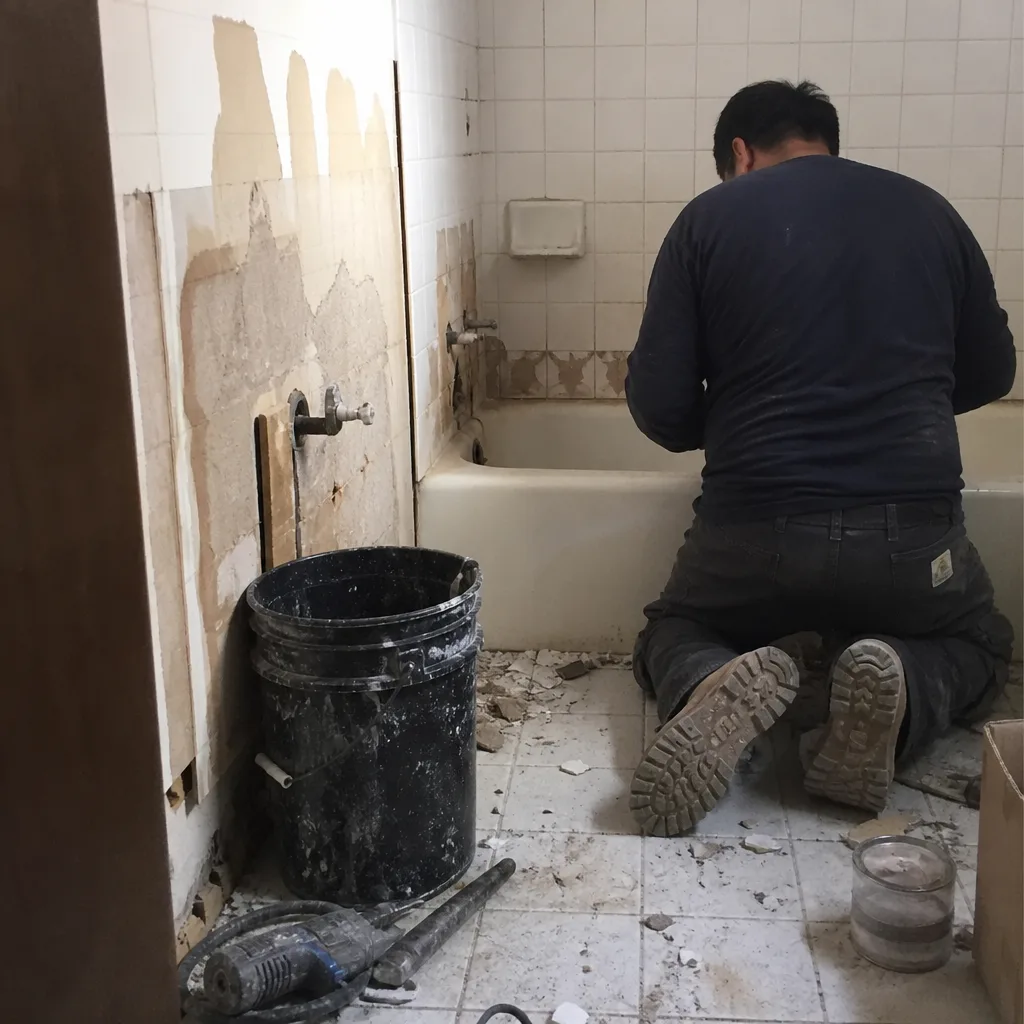
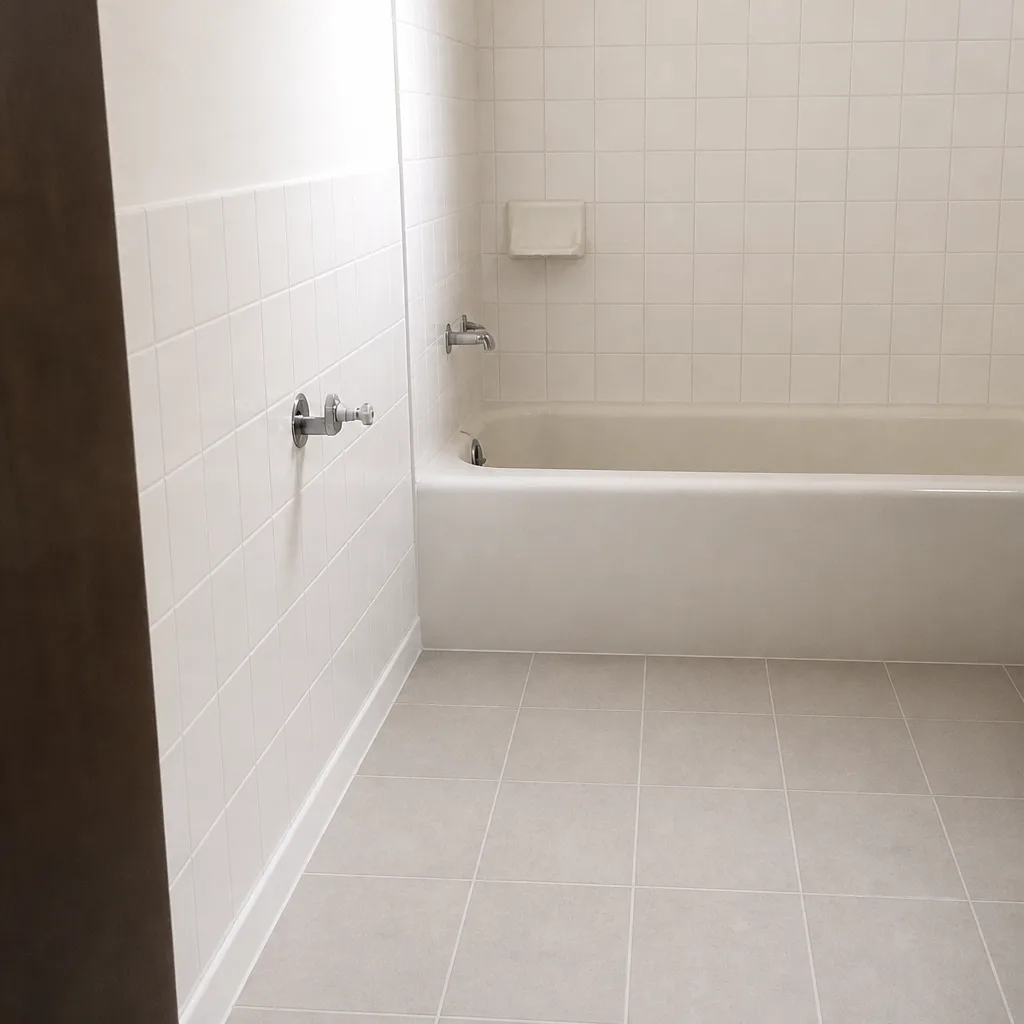
See the difference
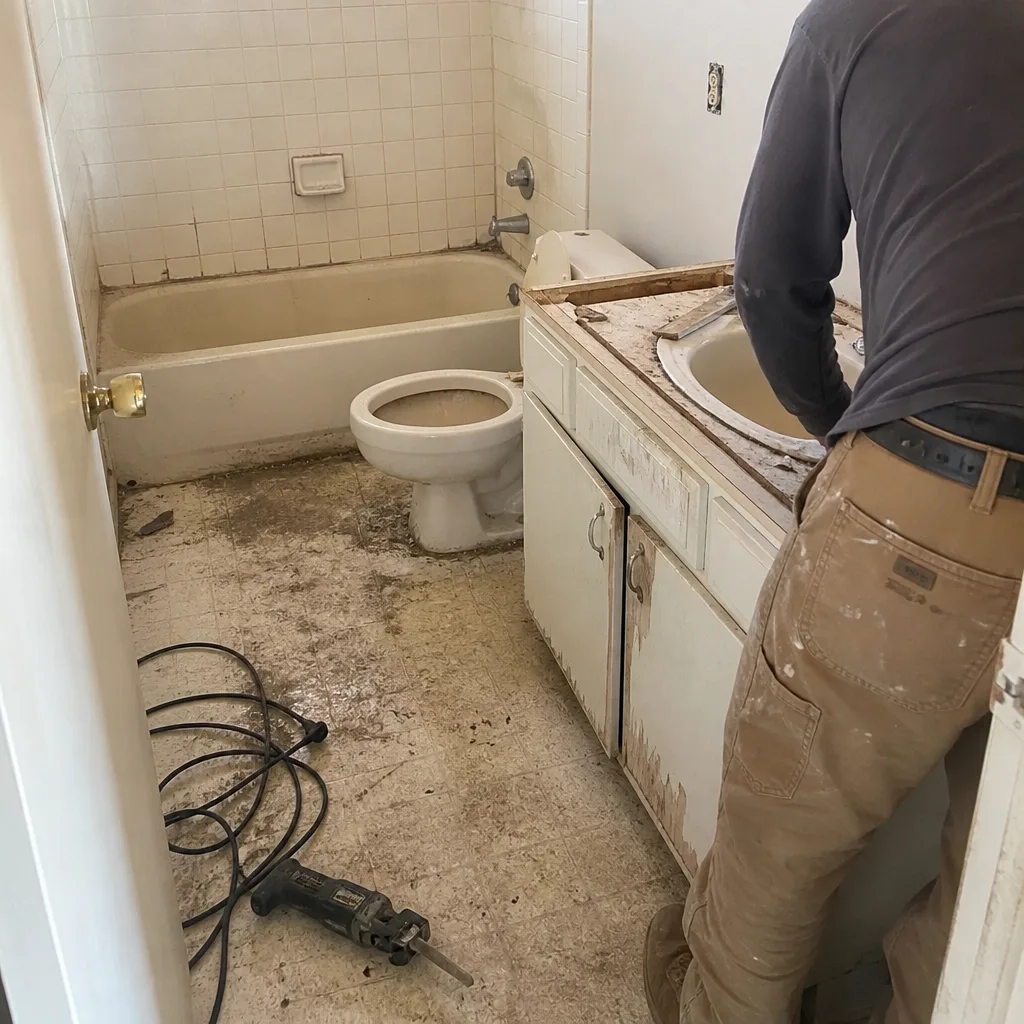 Before
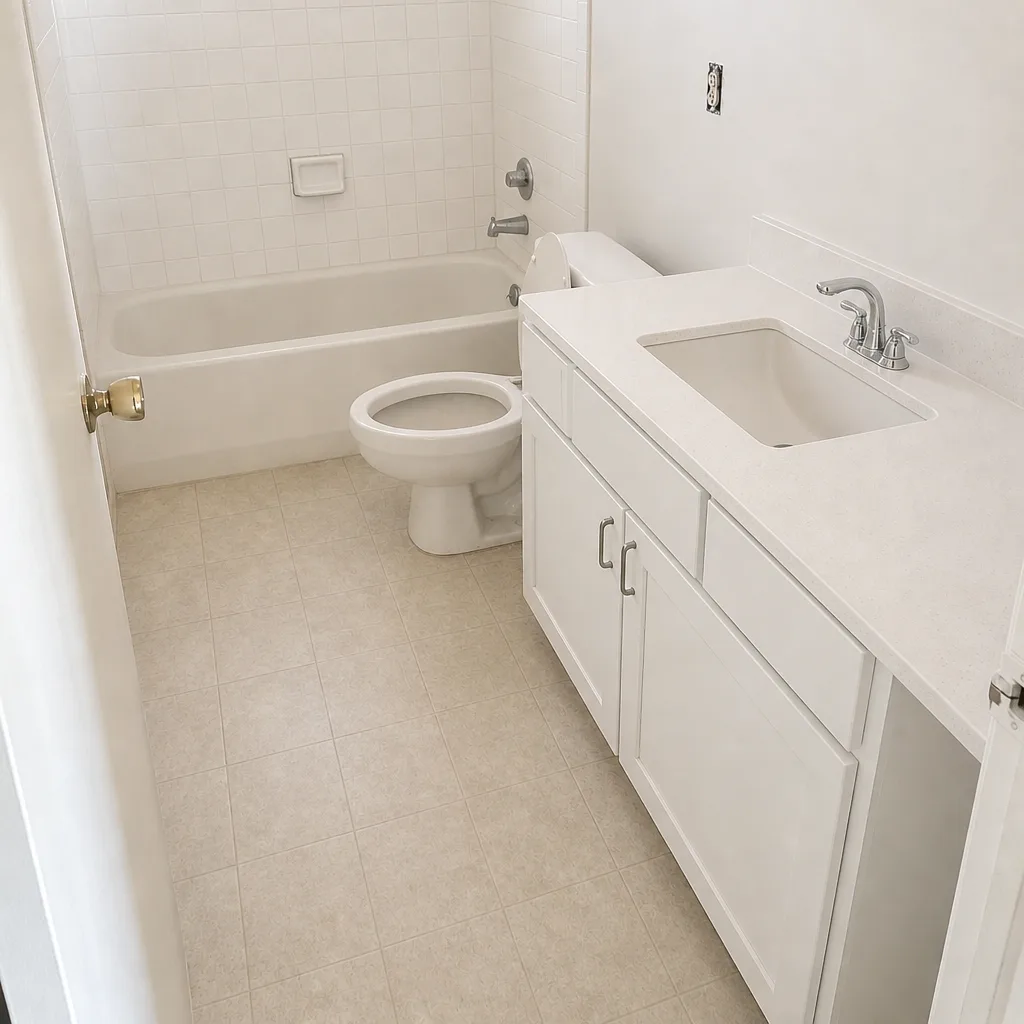 After
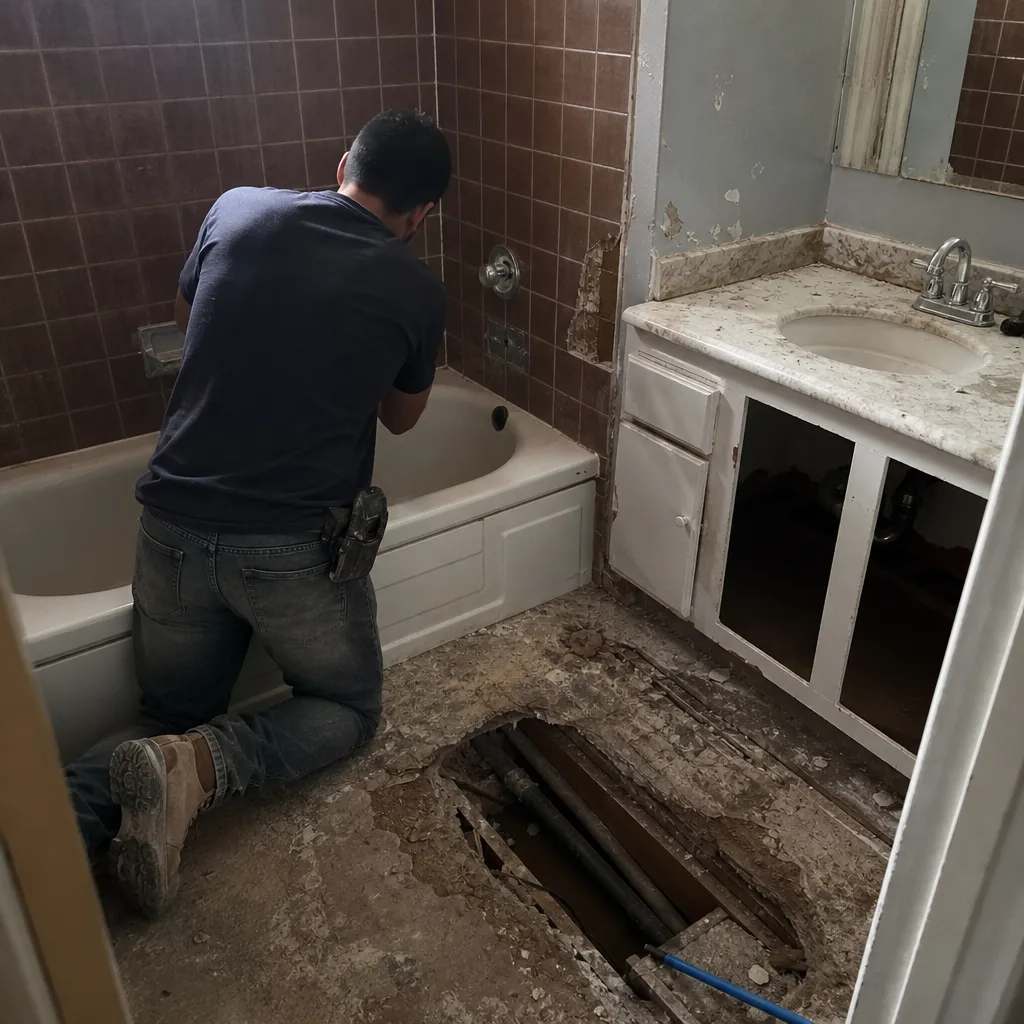 Before
 After
 Before
 After
Common Mistakes to Avoid
- Treating grout sealer as a one-time job. Sealer wears out in 12 to 24 months in a daily-use bathroom. Skip the reseal and you’re letting water straight into the substrate, which is the expensive repair.
- Reaching for the strongest cleaner when a fixture looks dull. A harsh acid or abrasive scrubs the finish off. A finish is the fixture’s protective layer, and once it’s gone, no cleaner brings it back. Use diluted, rinse, and dry.
- Assuming the exhaust fan still works because it still turns on. A dust-loaded blower wheel makes noise and moves almost nothing. Spring Valley dust loads fans fast, so pull the grille and test with tissue at least quarterly.
- Cleaning over hairline caulk cracks. Recaulking over a joint that’s already open is how a small water path becomes a hidden one. Cut out, dry, redo.
- Ignoring the area under the toilet. The slow leak that feeds a subfloor problem shows up at the base before it shows up under your feet. Flashlight, once a year, no exceptions.
- Ignoring the plan for the wall behind the tile. If you’re considering a remodel, the waterproofing method matters more than the fixture brand on the box. One shortcut there creates a maintenance job that never ends.
- Forgetting the shutoff valve. The valve you never touch is the one that seizes right when you need it. Turn it by hand once a year.
Frequently Asked Questions
Once every 12 to 24 months for a daily-use bathroom, depending on use and whether the shower is the main bath in the house. Use the water test rather than the calendar: drop water on the grout line and if it beads the sealer is intact, and if it sinks in, reseal. In a high-use shower here, plan for the shorter end of that range.
It’s both. The visible issue is mineral film on fixtures and glass, but the deeper problem is that mineral deposits trap moisture in the wrong places and encourage homeowners to reach for aggressive cleaners. In Spring Valley, diluted vinegar applied and rinsed is the right tool. Undiluted acid left sitting is the wrong one, and it will dull finish coatings over time.
The fan is likely moving too little air, and the usual culprits are a dust-loaded blower wheel, a clogged grille or an undersized fan. Spring Valley dust loads up a fan faster than most people expect. Pull the grille, clean the wheel and run the tissue test. If air movement is still weak, the fan usually needs replacing or the duct needs checking.
Repeating failures in the same place are the strongest sign: caulk that won’t hold at the same corner, grout that keeps crumbling, a shower pan that moves, a persistent musty smell or a soft spot at the toilet base. One of those in a well-maintained bathroom is a repair. Two or three in the same room usually means it’s time to redo the shower properly. A free estimate will tell you which side of that line you’re on.
Not on metal finishes. Repeated bleach exposure dulls plating and can pit coated metals, and it’s not necessary for routine cleaning. Warm water and mild dish soap are the default for faucets and trim across the board, including premium Kohler and Moen hardware. Keep bleach for surfaces labeled for it and rinse well after.
Same three rhythms, different materials. A new bathroom holds up better if you maintain it on schedule, and the schedule depends on what’s in it: natural stone on the vanity needs a pH-neutral cleaner, sealed grout needs the water test, coated finishes like matte black need a soft cloth. If your new build used Schluter Systems waterproofing, the layer under the tile is the reason to keep the joints above it sealed, not to skip them.
The Bottom Line

A remodeled Spring Valley bathroom holds up when it’s maintained on three rhythms: monthly care for finishes and hard-water film, quarterly checks for caulk, grout and the vent fan, and annual checks for toilet hardware, supply lines and shutoff valves. The two local conditions that speed up failure are hard water and AC cycling, and the two jobs most homeowners skip are mineral care and fan cleaning. Get both onto your calendar and the expensive failures stay theoretical. Skip them and the bathroom tells you in the most inconvenient way it can find.
Ready to get a real estimate instead of fixing the same joint again? Bathroom Remodeling Spring Valley is a bathroom-only specialist working with Kowhler, Moen, Delta, American Standard, Toto, Grohe, Sterling and Schluter. We handle full remodels, walk-in shower builds and tub-to-shower conversions under one roof. Call (844) 312-0122 for a free estimate. We answer 24/7. Fast dispatch from 7am to 7pm, Sunday through Friday. If you want to see the area we cover, our page on Spring Valley has the details.
Written by the team at Bathroom Remodeling Spring Valley.